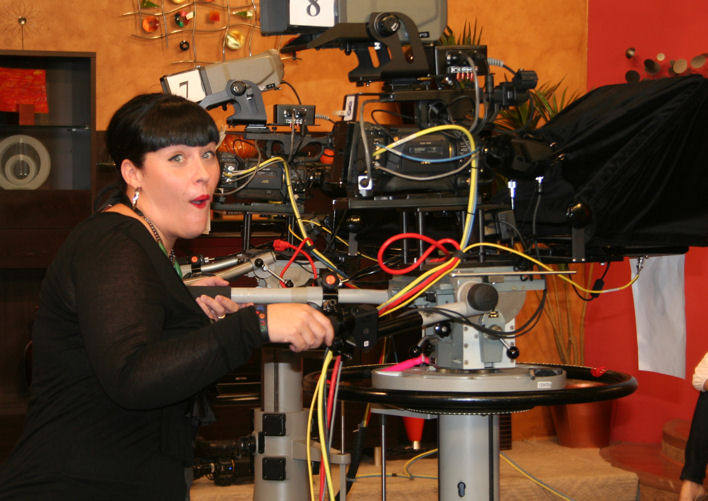
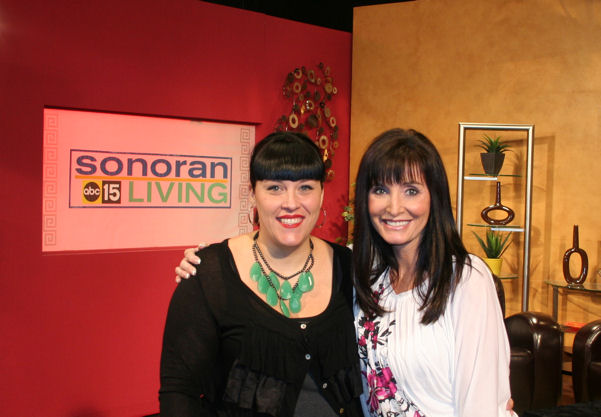
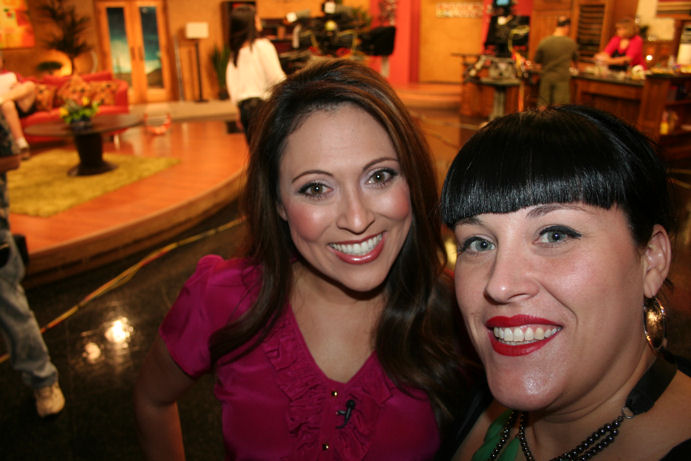
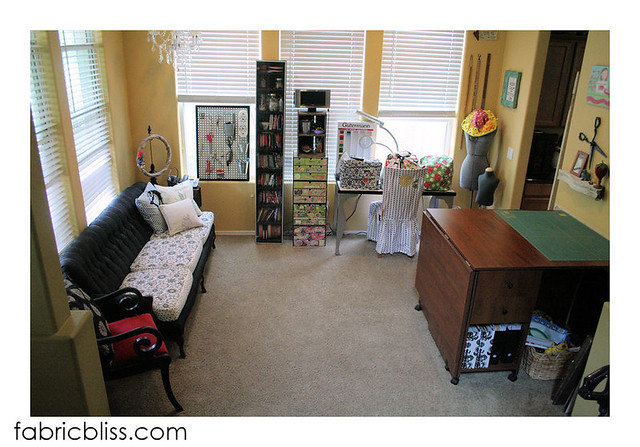
I had so much fun AGAIN today visiting the local ABC studio. My bucket is SUPER DUPER full today, KATCHOW KATCHOW. I thought I should have been super nervous being on live tv, but {besides the nip slip/F-bomb anxiety} I have felt at ease both times. Weird. And slightly awesome.
I thought to bring my camera along this time to get a few shots of the studio and hosts.
And.....You guessed it! I was that guest. That one who was actin' the fool once the camera came out. Yeah. But WHO IS NOT EMBARRASSED IN THE LEAST? Me. Three words. No. Nip. Slip. That's all that really matters, Amen.
They probably shouldn't ask me to be a camera woman, for real. That camera is SENSITIVE. My shakey hands + that = no bueno.
And ZOWEEMAMA these ladies are beautiful.... and SUPER THIN. {my poor ham bone arms were so embarrassed.} Next time? I will bring them donuts. And perhaps several buckets of lard. Need motivation to go on a diet? You can come with me next time... {boohoo.}
It was just a really fun day. And I hope everyone in the land starts a Chore Store. It really is a great thing.
I am DYING over our little terrier, Chuy, in that sweater! It was about 110 the day we had that photo shoot and he HANDLED IT LIKE A CHAMP! And for the record? He was agreeable to sitting on my ironing board for that particular shot. What my kids could learn from him.... :)
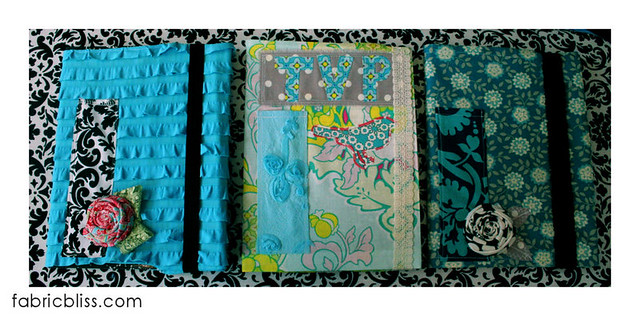
It all started with this notebook I made for Creative Estates:
And then I {we} were HOOKED.....
So, remember long ago, when I posted pics of these fun composition notebooks I had made for my friend Erin? And how I had said I had a SUPER QUICK and SUPER EASY tutorial I was going to post? And then everyone quickly realized I was a BIG FAT LIAR? Well, who's the liar now, weenies? Because HERE IT IS, in all of it's 18 picture tutorial glory {14 of said pics are almost assuredly unnecessary}. Better late than never, friends. Better late, than never.
This project is rated SUPER EASY. How easy, you ask? Even when you are having a day where you feel like you are crafting worse than a drunk monkey? You will STILL find success with this project. I swear.{you can trust me.}
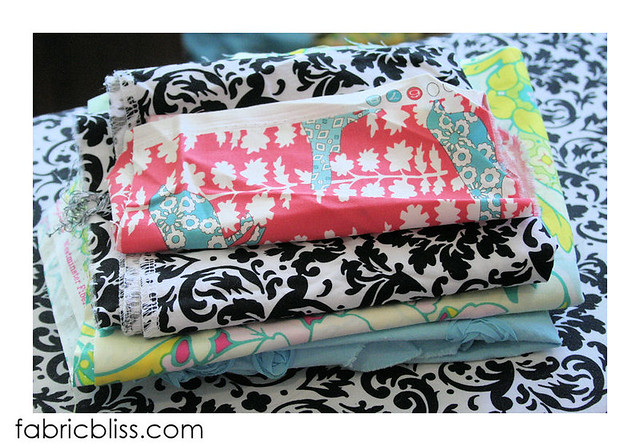
Supplies are super simple. Plug in your sewing machine and make sure that bobbin has thread on it. Plug in the ol' glue gun {if you aren't ashamed to laze it out}but if you are all proper and stuff, I will show you how to sew at my gluing point.... Gather some fabric together- {THIS MIGHT BE JUST THAT EXCUSE YOU WERE LOOKING FOR TO GO TO THE FABRIC STORE. OR? Shop online! Did you know you can order fabric at Amazon? OH FRIENDS! That means with Amazon Prime, you can get free shipping on fabric all. day. long. Its almost sinful NOT to be ordering fabric all day long, isn't it????} At least one piece needs to measure 12" x 22". You might even get a little crazy and patchwork together a few scraps to get something this size. Woot woot! You will also need an 18" piece of pretty elastic or stretch lace to serve as the closure.
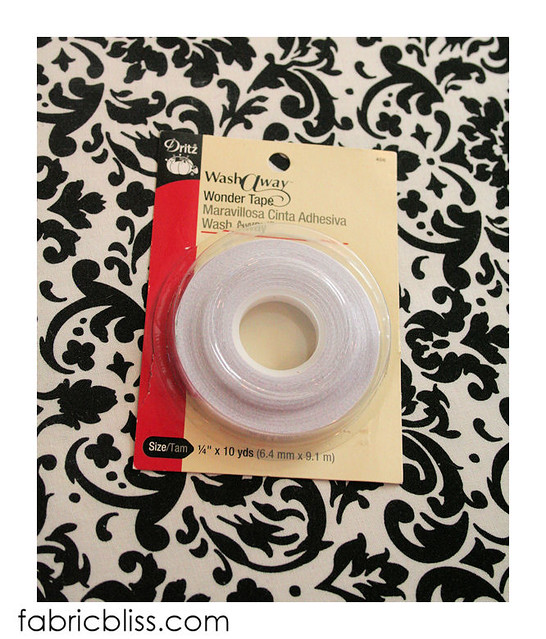
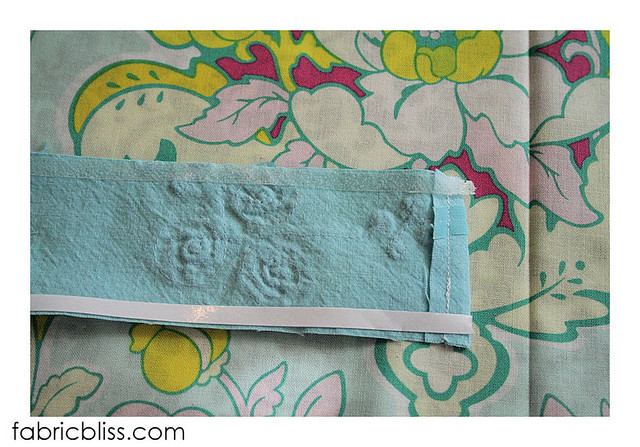
An optional supply for this project is something I keep in my sewing arsenal ALWAYS! Wash away Wonder Tape is my best friend in the sewing room. {well, besides spray adhesive}I HATE HATE HATE HATE HATE to use straight pins. HATE! I REALLY prefer to just use this to tape pockets down - well, really anything that can be taped down- and then stitch. This will NOT gum up your needle and if you ever wash your cover? This stuff dissolves in water. GENIUS! {I buy this at Joann's, either with a coupon or when the notions wall is 50% off.}
Ok. We are ready to get started. Cut out a piece of fabric {or create one with patchworking} that measures 12" x 22". Try not to cut it so that your HB Pineapple motif is going to be on the front upside-down. But if this happens? Meh. Move on. There are bigger things to worry about and Erin is such a nice friend, she will never say anything :) I serged around the edges, mainly because I own a serger {or two} and I like to serge whenever possible. There aren't really going to be exposed edges, so if you don't have a serger, skip this part. Geez. How many times have I said serge? SO MANY TIMES the word looks weird to me now. Serger. Serge. Serge. Serger. OK, moving along...
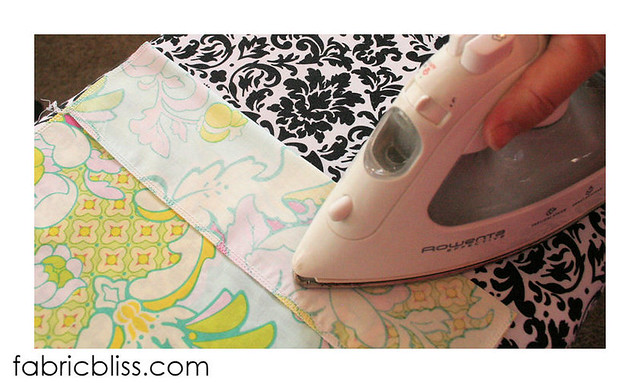
Now, fold over 3" from each side and press, right sides together, along the fold.
Press, press, press. Press HARD. Iron like you MEAN IT. {Truthful moment: I cropped out the duct tape repair on my iron. And my really beefy arm.}
Now, unfold and your crease serves as the no-man's land for decorating the front of your cover. As in, don't go too near the crease and anything to the right of the crease? That is going to be on the inside of your notebook. {I didn't take a pic, but you also need to fold the entire piece in half, like a book, and press a crease there, too. That will serve as your binding mark. Anything to the left of that crease will be the back cover.}
Now, embellish to your hearts content. I taped on and then stitched a pen/pencil/marker pocket, added Erin's business initials and a bird patch I made from fabric + Heat N Bond LITE.
{did you know EVERYTHING IS BETTER when you put a bird on it????}
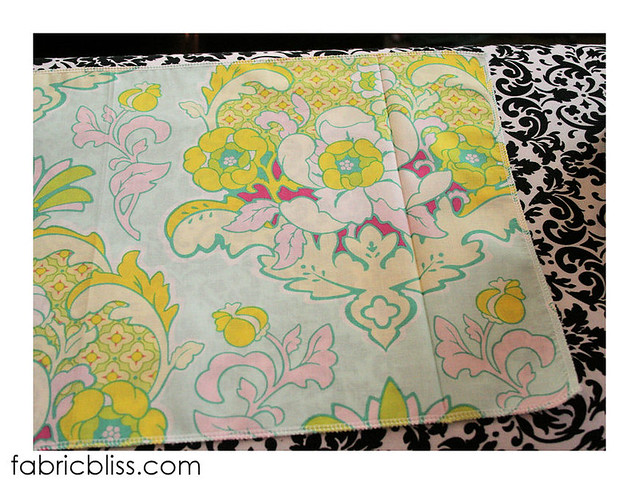
This is what my cover looked like after i was done embellishing the front. If I could do anything over? I would move the pocket down and the bird over...... the bird was painfully close to my elastic closure and it annoys me.... or I could just be hormonal. At this point? Its ANYONE's guess. {husband? Best for everyone if you refrain from guessing....}
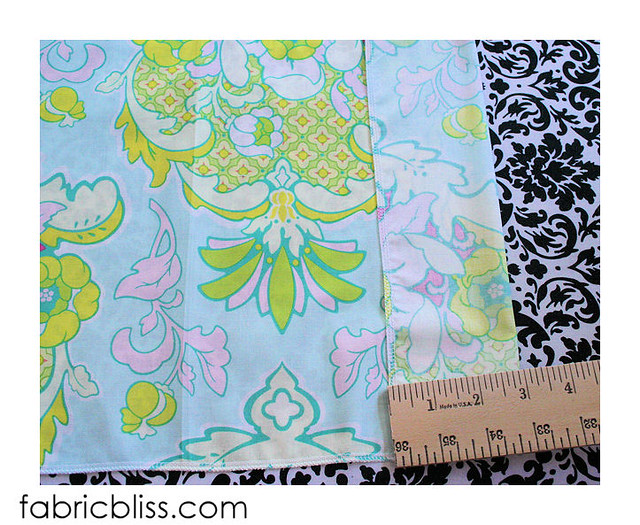
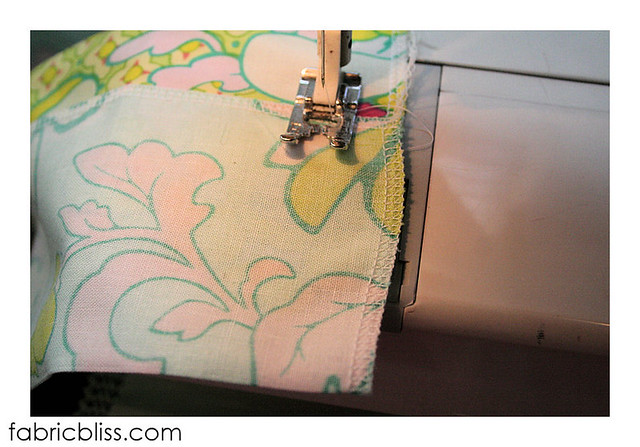
Now. Take your cover back to the ironing board and touch up those creases. Now, sew along the tops and bottoms of both front and back seams {using a 1" seam} just where the fabric is overlapping. {does that make sense?}
In what is perhaps one of the lamest little layouts that has ever been made, LOOKIE I made a little pattern because I think I am complicating this WAY. TOO. MUCH!
Now, when you take your little beauty back to the ironing board and flip everything right side out, it should look something like this ^ Press down those flaps on the tops and bottoms and stitch those down too. Just where they are flapping up. Don't stitch over where your book is going to go into your cover, you dig me?
Now, convince your composition book into its new cover. Depending on how straight you sew and cut {i don't cut or sew straight hardly at all - wonky in da' house}this could be super easy (or) REALLY DIFFICULT. But. I KNOW you are going to get her in there!
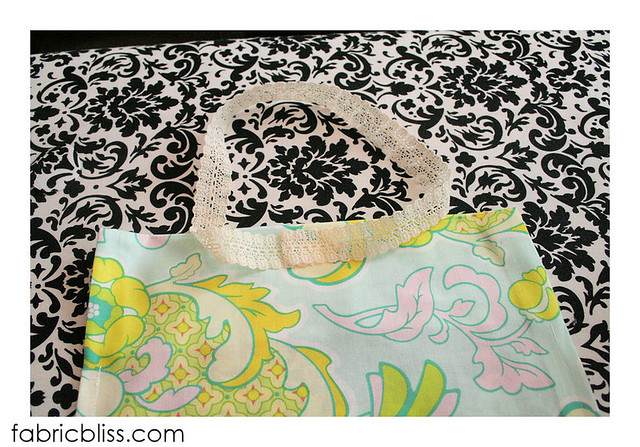
Now. Here is where I am going to glue. This part can be accomplished WITH THE COVER ON with glue, but if you are stitching, it needs to be done before you put your cover on. {ahem. overachiever.}Make a loop with your 18" piece of lace or elastic, and glue the ends together. Take said loop and position on the back cover, near the edge that is NOT the binding, go somewhere in the middle and glue it like you mean it. {if you are stitching, re-read that last part but substitute the word GLUE with the word SEW. Be careful not to stitch through the back to the flap where your book cover goes.}{for the record- us glue-ers don't have such worries.....}
I like to cover my glue shame handiwork with a little heart cut from fabric. Just glue that little sucker right on top.
Voila! And just like that, you are finished.
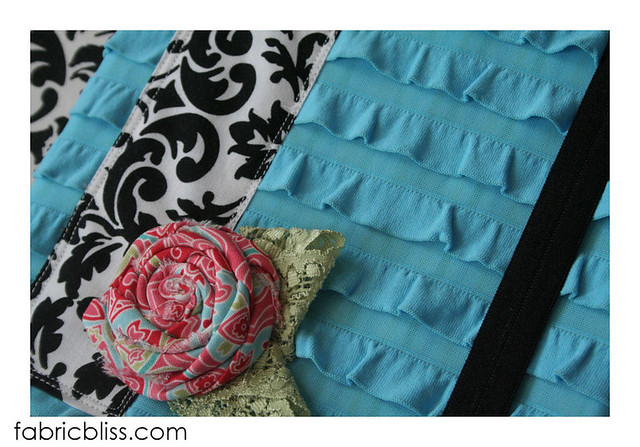
Now that you are such a notebook cover making pro, I encourage you to try different fabrics and trims. MY FAV I have made so far is this ruffle confection! Erin is lucky I mailed it when I did. I had several little ladies in this house eye-ing it up.....
Hey, GUESS WHAT? I am going to giveaway one of these little pretties to one lucky commenter. Love this? Hate this? Having a bad hair day? Does your husband work from home as well and you are having one of those 'wanna poke his eyes out' kinda Friday's, too? Tell me about it right here in the comments and Sunday night, I will pick a winner. {did anyone else's family say 'pick a winner' in reference to picking one's nose? or was that just my weird kin???}
{I'd love to see pictures if anyone makes one of these}
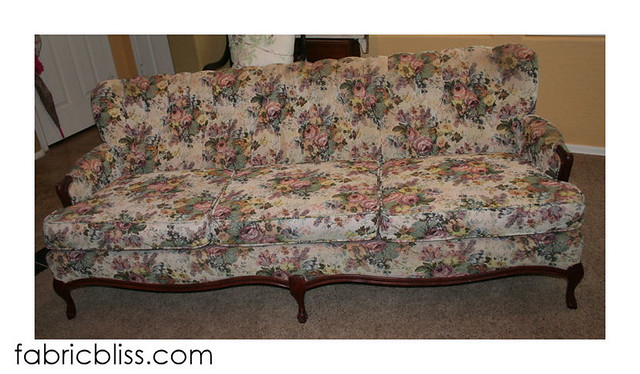
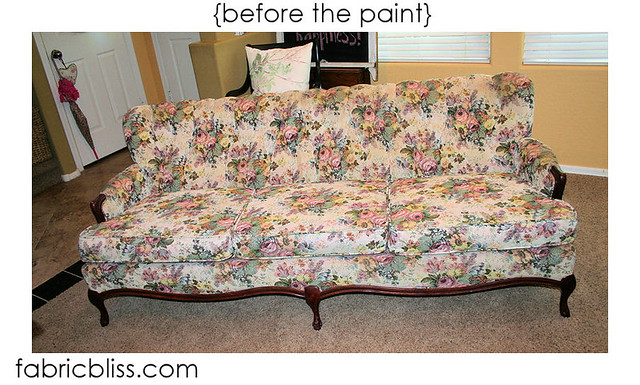
So, if you follow my VERY AMUSING musings on twitter {hint, hint} you may have seen the picture of this garage sale SCORE I bought a couple of weeks ago. For the low, low sum of FORTY-FIVE DOLLARS! Can you FREAKING BELIEVE my LUCK?
When I saw her sitting there, in that nice man's driveway, I got the heart palpitations and sweats that only a true bargain hunter can understand. There and then, as I sat in my car, tangled in my own seat belt {there may have been some cussing involved} I KNEW I NEEDED to OWN her! As I walked up the driveway, I fretted that she might be out of my budget, but was already concocting excuses and justifications for the mister. I watched as another woman had a conversation about the couch and WALKED AWAY. 'OH GREAT!' I was thinking, 'this dude must have visions of GRANDEUR and wants a Antiques.Roadshow.Mint for this little beauty.' My garage sale compadre nudged me a little and said GO ASK ABOUT THE COUCH. {She actually more shoved me, bless her little heart.}So, up I trudged and casually asked, 'how much for the couch'. Oh man. He started out with a story which typically = A TOTALLY INFLATED PRICE. He told me she was from the 40's, original fabric {which, I disagree} and that he just replaced the springs a year ago. And then he said it. FORTY FIVE DOLLARS!!!!!!??????!!!!! Uh. Yeah. I'll take it. {and for the record, it was in VERY CLEAN condition. No smells, fabric could have been left as is, if it weren't so hideous. SCORE!}So, I kinda knew I was going to paint her from that moment. {did you see that episode of trading spaces where the couches were painted but got ruined by the rain? Yeah. I still wanted to attempt it.} It took a bit of convincing the mister, but he eventually agreed with me that this was the only way she was going to fit in with out COMPLETELY NOT SHABBY CHIC HOUSE {that was for my galpal Heather}
Just my luck? My dad was in town to help! {Its almost like I PLANNED IT}
So, here are the supplies we used:
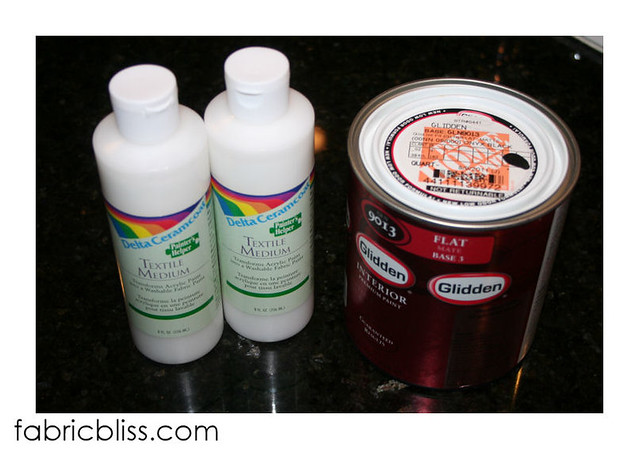
*Glidden flat black paint {color -Ebony}- I started out with just one quart, but ended up having to go back for another, which I used half of. So, if I ever paint a couch again? I will just go for the gallon.
*2 - 8 ounce containers of Delta Ceramcoat Textile Medium - this paint additive keeps acrylic/latex paint flexible enough to use to paint a couch, without all of it just flaking off. It was supposed to be 1 part medium to 2 parts paint. I got lazy doing the math, so I ended up using the 2 - 8 ounce containers for a quart and a half of paint.... that adds up, right??? {It turned out fine, regardless...}{Kids, are you listening? YOU DO NEED MATH SKILLS IN EVERY DAY LIFE! STAY IN SCHOOL!}
*Painters tape {Don't be buying no dollar store tape. It sucks. The extra moolah is SO worth it.}
We also used this foam roller. {OMG I know this is the worst picture ever to be posted on the interwebs, it was just the only one I took.} {Sorry.}{I love you.}We also went through several of these type foam brushes, mostly to get in the nooks and crannies.
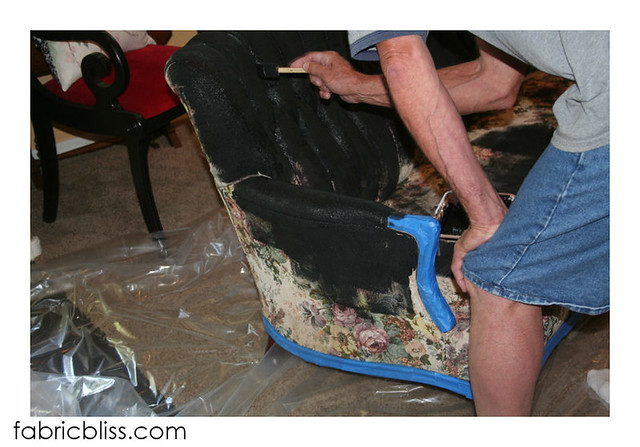
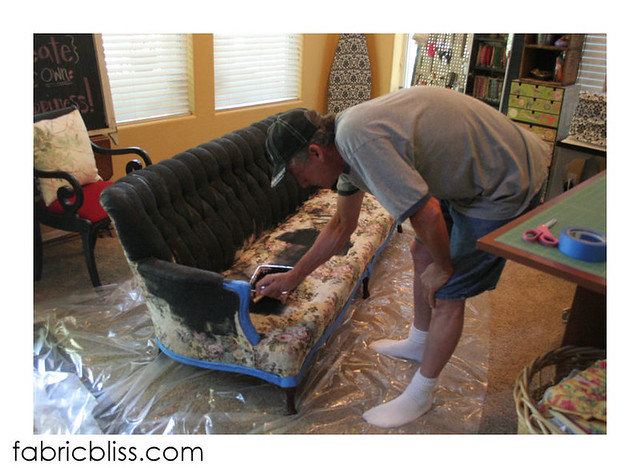
My dad was in charge of masking the wood base. {YAY FOR FARMING OUT THE TOUGH LABOR!} There was some discussion about painting the wood as well. We didn't, mostly because I am lazy, it would have involved priming and sanding and I am nothing if not a crafter suffering from a MASSIVE case of A.D.D. So, YAY for NATURAL WOOD TRIM!
I rolled all the bigger, flat areas, and Dad used the foam brushes to get in the tufts on the back and around the trim. It took both of us painting about 4 hours total painting time over 2 days to finish. {My dad actually did most of the work. THANK YOU DAD! I APPRECIATE YOU!}
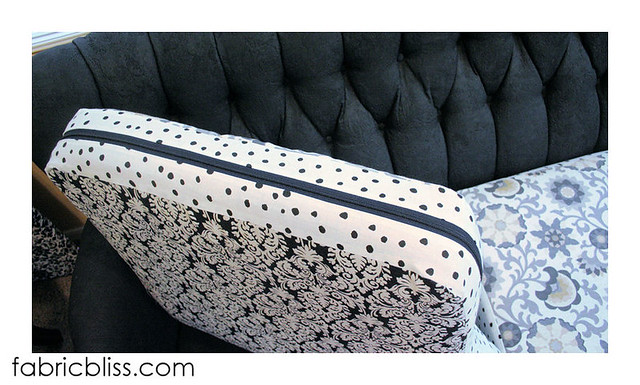
It took me the LONGEST to figure out what fabric to use to cover the cushions. {I knew right along that I didn't want to paint those....} I settled on reversible cushions, trimmed in polka dots. {Perfect.}
Didn't she turn out beautiful???!!! You can still see the texture of the original tapestry {original?} fabric, which I actually love. The back feels a bit like you might imagine a painted couch would feel like. Stiff, like a new screenprinted t-shirt. I might not attempt this on a 'fluffy' couch. I think it worked so beautifully because this was a tight, tailored design. {which is why I did not want to attempt to paint the foam butt cushion covers. It sceered me.}
So. To review. Look. The prettyness. The beauty. Total cost? A little over $100.
$45 - couch
$16 - 2 quarts black paint
$7 - 2 containers textile medium {both purchased at Joann's with coupons $5ea is reg price}
$2 - foam brushes
$36 - Damask and Floral from Joann's with coupon {had the dots in the stash}
I have finally come to the conclusion {I got REAL with myself!} that I do indeed work best under pressure. Which is probably why quick, easy and cheap {but CUTE} projects just really, really appeal to me. {and why I procrastinate like no other....} Oh, you too? I don't think we are that un-common. And do you, perchance, have an American Girl doll lover in YOUR house? {or really, a doll lover of any kind?}
{I have TWO! - it gets.... a bit.... PRICEY!}
If the answer is yes, then this may be just the last minute craft you've been looking for... I made these today and I am planning on sticking them in my girls' Easter baskets. {we are not doing much - if any - candy this year - ahh! the HORROR!}But if I know my girls, they are going to squeal with delight when they see these!
Doll-clothing Hangers!
Ready to make your own? Gather these supplies:
7/8" cup hooks {I purchased this pack of 100 from Walmart for less than $5} Depending on what your hangers are going to hang on {size of closet or armoire rod} you may need to get a bigger size hook.
Jumbo craft sticks {the ones that are about the size of tongue depressors. These are also from Walmart.}
Paint {and paint brushes}, scissors and any type of fast drying, permanent glue {I used a hot glue gun because I DO LOVE TO USE HOT GLUE!}
Each hanger takes one cup hook and three craft sticks. First, mark the middle of ONE of the sticks with a thick marker swipe.
Now, using sharp scissors, make two cuts on eitther side of your line, in effect cutting out a small piece of the stick {making a notch}
Now, put glue all over both of those pieces---
... and glue to the top of one of the still intact sticks.
Now, fill the area where you cut the craft stick away with glue and stick a cup hook in there.
Cover that layer with a whole lotta glue....
And cover with the third stick. Wait for the glue to try and you are ready to paint, as you wish.
I have one daughter who LOVES pink {Kenny} and one daughter who LOVES yellow {Piper}. These are all set and ready to gift. YAY for EASY PROJECTS!