Monday, May 30, 2011

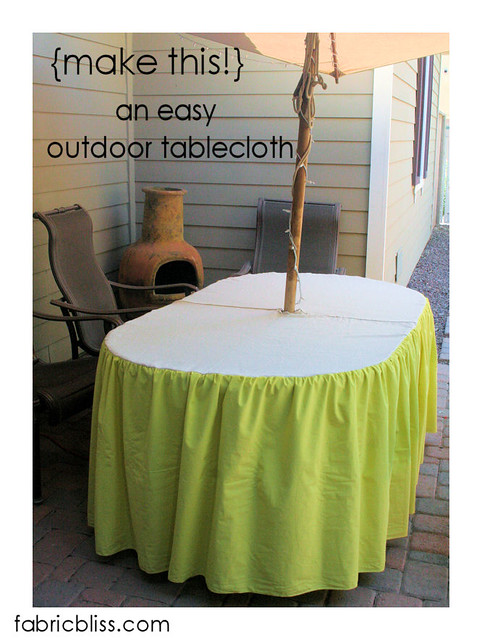
{make this!} An awesome outdoor {umbrella} tablecloth

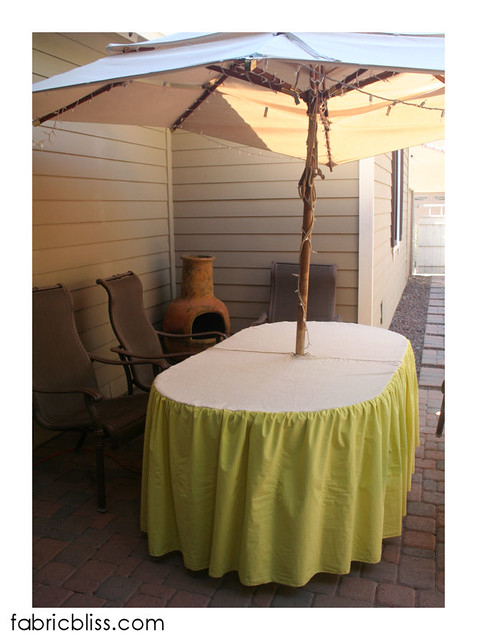
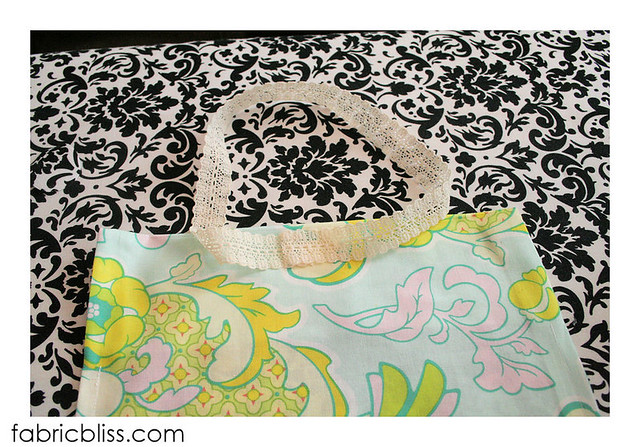
I hosted a grad party for my son this past Friday and needed a tablecloth for my outdoor table {since over 40 people were expected, half of the party was planned for outside. My house is SMALL, people. SMALL.} I normally like to use twin size quilts as table cloths = mainly because there is no ironing involved and the padding from the quilt protects the table underneath {think ---- no trivets required!}But since my patio table has an umbrella {and I was NOT into cutting up a quilt to accommodate... I wasn't quite that desperate...} I needed a quick and CHEAP solution. Enter in yet ANOTHER project involving those darn Lowe's paint drop cloths that I love so much!
14
This project took me under an hour, from start to finish. It SO HELPS if you have a ruffler attachment on your sewing machine OR have a Johnson ruffler OR you have a serger. If you plan to gather this beast by hand, email me when you make that cray-cray-crazy decision and I will pray for you. Amen.

These are the supplies you need:

-fabric yardage will depend on how long you want your drape and how big your table is.
- a drop cloth {or other heavy fabric} big enough for the top of your tablecloth. Feeling extra crafty? Something patch-worked would look super cute here.
-fabric for the drape. I suggest using something a little lighter here
-velcro as wide as half your table plus a few inches
-sewing machine, yard stick, LONG cloth measuring tape, straight pins, thread, scissors and PATIENCE! 
-don't forget the PATIENCE! This project almost guaranteed cannot be accomplished without using straight pins aka the bane of my existence. Please forgive me. 
13
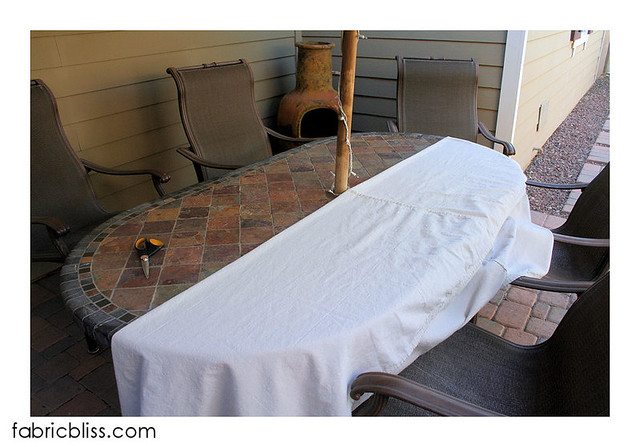
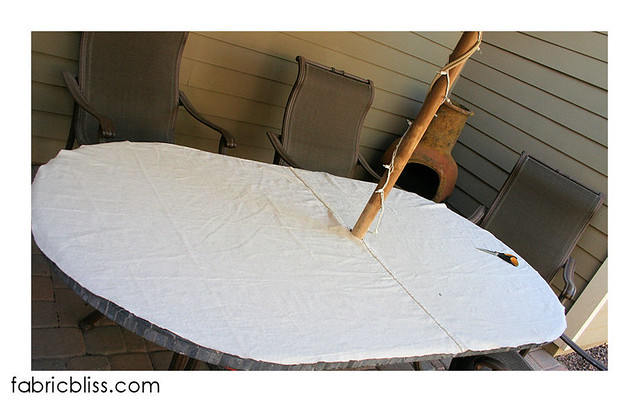
So. First what you are going to do is create the shape for the top of your table cloth. To do this, fold your drop cloth in half {right sides together} and lay it across your table. Then, line up the center seam {if there is one, if not you can just find the center of your cloth} with the pole of the umbrella. 
12

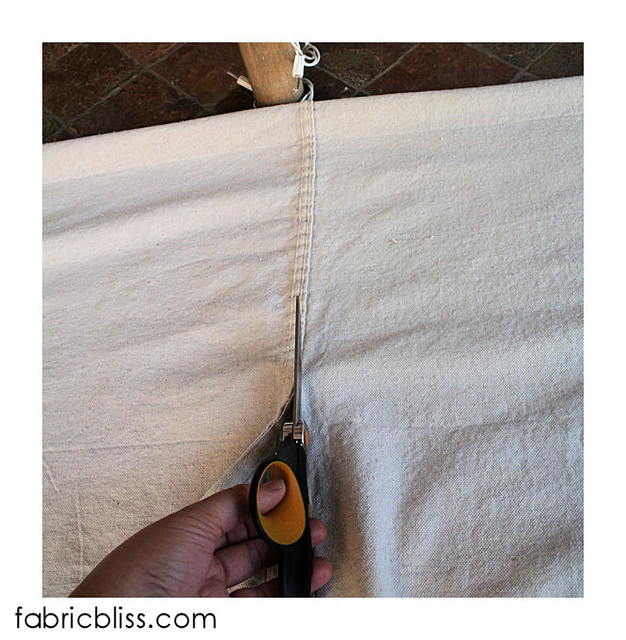
Now, cutting JUST the top layer, cut along your seam {or center line at the umbrella} just up to the pole.

11
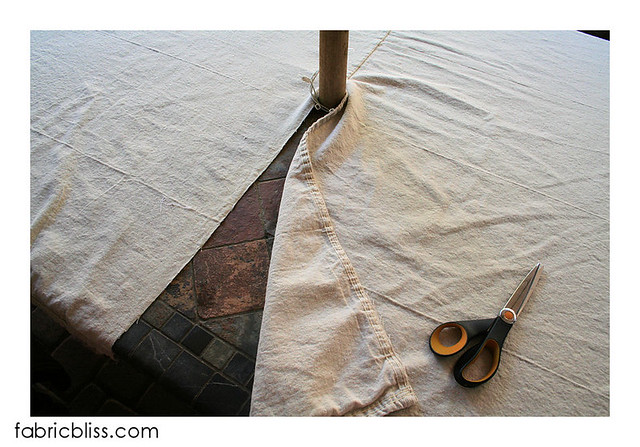
Now you can unfold your drop cloth like so.
10
Now, very carefully cut a circle out around the pole. If you have twinkly lights around your umbrella {like I do} take care NOT to knock a bulb out with your scissors {like I did} LEARN FROM MY MISTAKES, I tell ya! LEARN.
09
Now that everything is laying fairly nice and flat, trim your top piece to 1" around the edges of the table. This can be a little tricky, so take your time. If you like to sew with a bigger seam allowance than 1/4", you may need to leave a little more of an overhang.
08
When you are finished trimming, your top piece should look something like this.
07

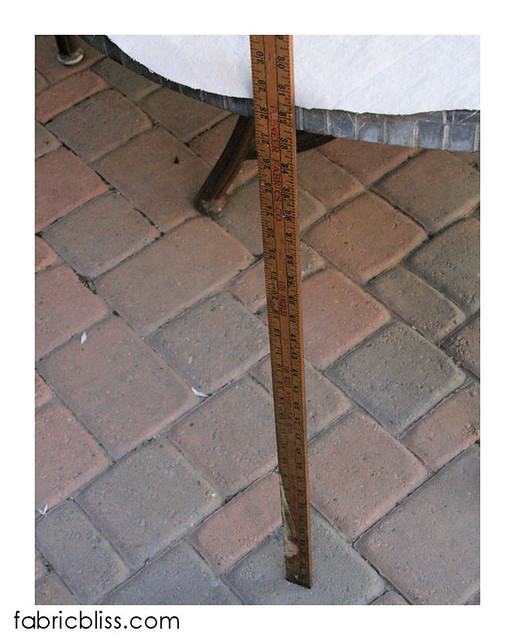
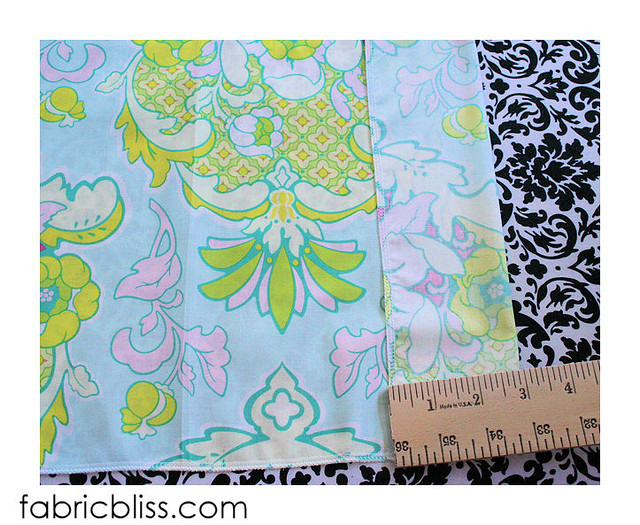
Now you need to figure out how long you want your ruffle to hang. I used 54" wide cotton cloth for my ruffle and {in true laziness} just cut down the center fold. My drop was about 27" which actually ended up working out perfect. Plus? I left the selvedges raw, so NO HEMMING, friends! No hemming... To calculate how long of a piece of fabric you need for the ruffle, take your extra long cloth measuring tape and measure the outside ?circumference? of your table. {or, if  you are a math wizard, I am certain there is some formula you know that you can use to calculate this. STAY IN SCHOOL.} When you have that measurement, double it to account for the ruffling. My table was approximately 220" around so I used 440" of fabric which is 12 yards long BUT only half the width. So in reality, 6 yards of fabric total. {That seems like a ton of fabric, I know. For reference, this table is about 8 ft long.}{And the fabric I used was about $2/yd wholesale.}
04
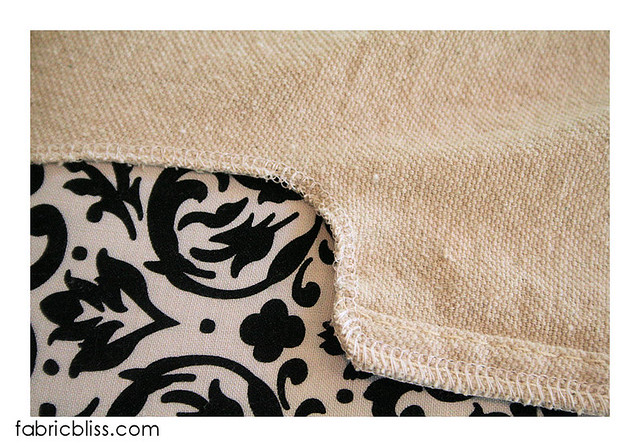
If you have a serger, this is the time to finish those raw edges with a quick run-through. If you don't have a serger, I would suggest turning over a narrow 1/4" seam to finish this off nicely.
06
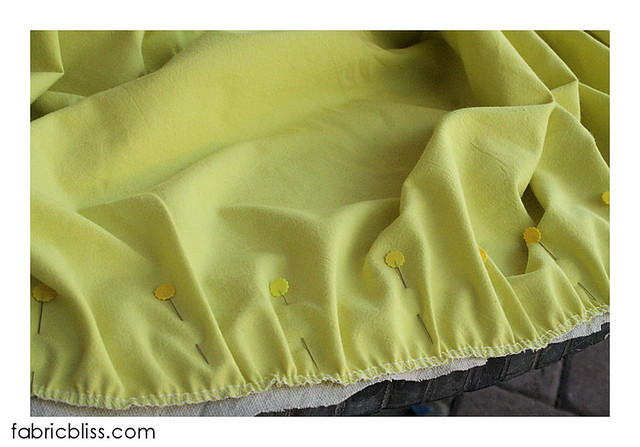
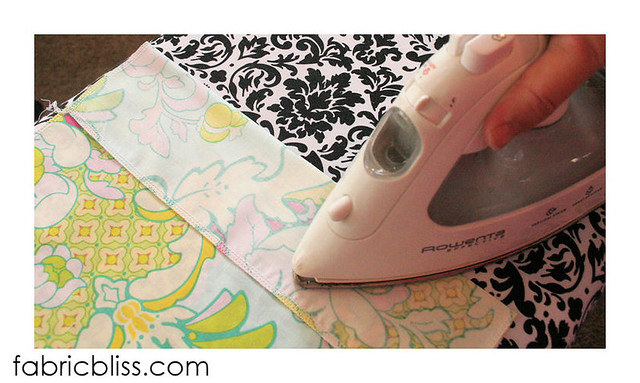
Now, prepare your drop fabric. As mentioned previously, I just cut along the fold straight off the bolt, sewed the ends together and ruffled along the top edge. I did a two to one ruffle to get this look. If you want it to be more gathered {or less} just lengthen or shorten the yardage you are ruffling. The easiest way to pin your ruffle on is to leave the tablecloth top ON your table and pin there. If your table is as big as mine, this is the WORST PART and the most time consuming. And bulky. I used up almost every pin on my my pin cushion. It was horrifying.
05
Pins. Pins. Pins!
02

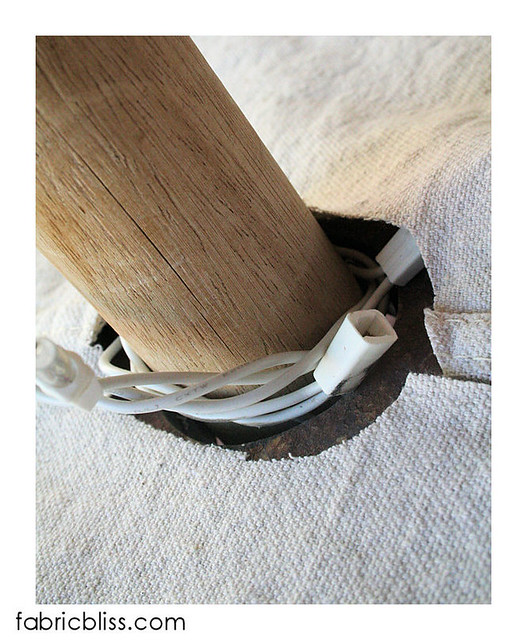
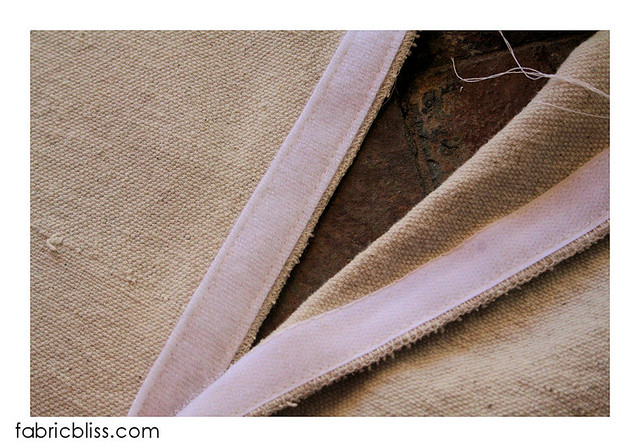
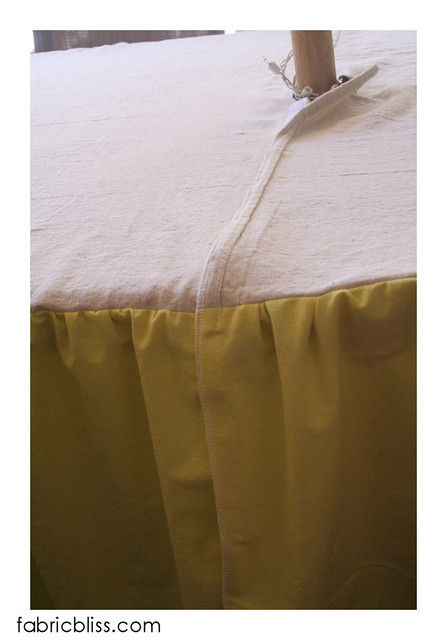
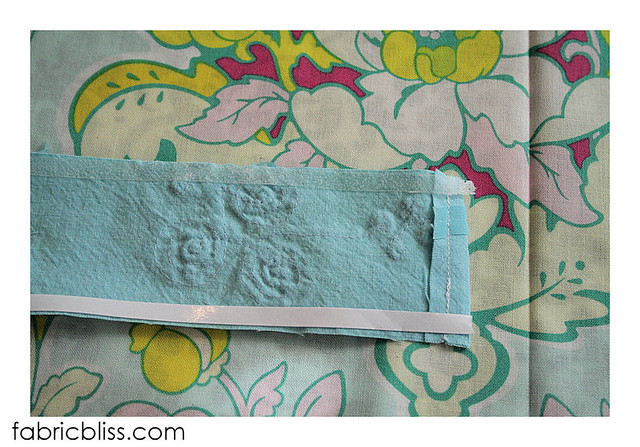
To finish off the umbrella opening, sew on your velco. It doesn't matter much which side goes where.
01
I would suggest running the velco just over the edge of the table. 
03
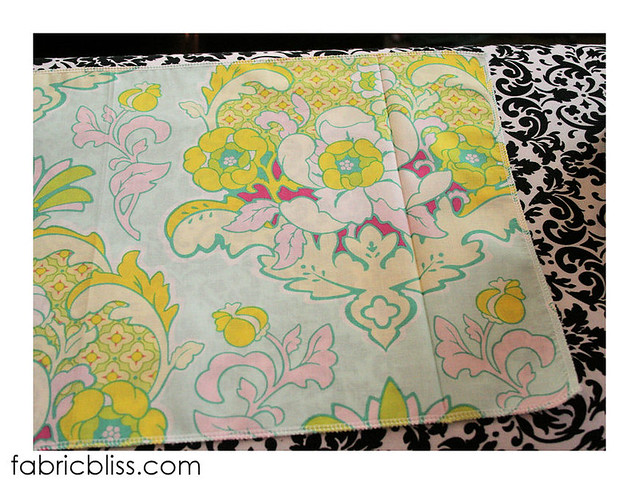
And there you have it, done and done. Easy, right? 
{unless you hand gathered. Bless your little heart.}


Sunday, May 29, 2011

That darn couch.

So. If you follow me on the twitter {hint, hint} you already know that I am WORLD FAMOUS ... AM A VIRAL INTERNET SENSATION was kind of excited about this little mention on this awesome website:


Which was sweetened even more, by this little gem of a follow-up, posted last night:

after02

But, really? It's also been a hellabit crazy and something I was nary prepared for. The sudden flood of traffic to my blog, tons of emails and comments I have received has been SO AWESOME {I don't want to sound like a bitter betty} but it has also been a WAKE-UP CALL that I have to be {and was totally NOT} PREPARED TO BE RESPONSIBLE for what I post on the internet!!!!! D'uh! GUESS WHAT, FRIENDS?! I hate to admit what you probably already know, but I am NOT a couch-painting EXPERT!!!!! {insert smiley here} I am just a crazy, slightly oddball crafter that thought this couch ROCKED but couldn't stand the floral fabric and was too poor to have it re-upholstered ...  And because it was so darn cheap? I thought, what would I be out if this was an ABSOLUTE FAIL?... a small amount of money and my time. {well, my dad's time, too} It seemed to make sense... and now. HOLY COW! ARGH AND THOSE CUSHIONS that a LARGE collection of the people I have heard from HATE with such vitriol I can't imagine caring that much about other people's fabric choices? I could defend my choice but that might imply I put a ton of thought into choosing those particular fabrics.... The truth? After 2 trips to fabric stores and lots of indecision, I chose those fabrics because I had them on hand and I was hosting my son's grad party {this past weekend} and I needed to get those cushions covered ASAP. I apologize to anyone with bleeding eyeballs because of my poor design decisions :)  It might actually be all Heather's fault. We agreed that a little whimsy would fit right into my sewing room. {please feel free to pop by HER blog and share with her how much you hate my fabric choice as well :)}{I love you Heather.}It makes me feel very ashamed that it is so much easier to hear the negative comments than to accept the positive feedback. Do you ever feel that way?????? Also. Do you ever TOTALLY abuse PUNCTUATION and CAPITALIZATION??? I thought so. Gosh, I knew I LIKED you :) 

camdengradkids

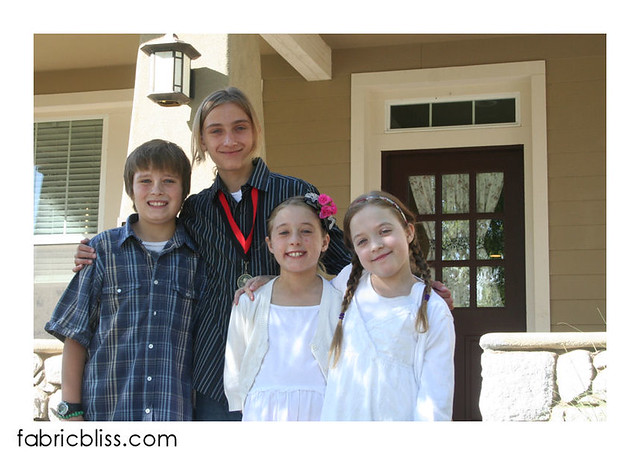
Onto more sunshiney topics, my oldest just graduated from 8th grade. And I could NOT be prouder :)
camden-grad

He even tied his hair back in a ponytail, just for me :)
candypops-grad

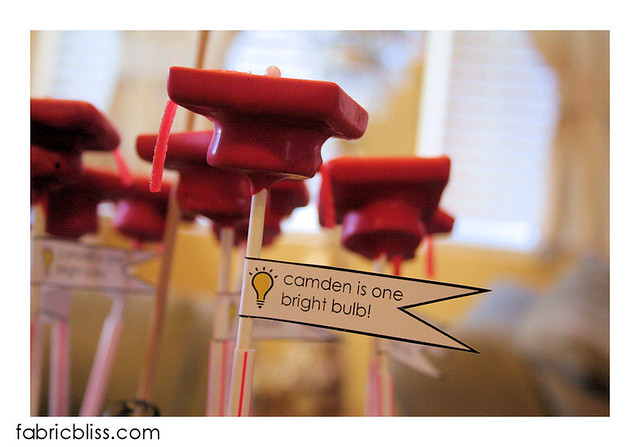
I had so much fun with his graduation party. I will share more pictures tomorrow... I hope everyone is having a FABULOUS weekend!


Sunday, May 22, 2011

A new couch needs some new deco {or} I made a wreath and a pillow, Amen.

The weekend is just about over and my sweet kiddos have a wee bit less than one week of school left. Hot damn. This was one of those weekends that feels like it was already over before it even started! I scored LOTS of AWESOMENESS at the Goodwill half price sale Saturday morning {with bestie Heather - she got some AWESOME GOODS,too!}{things I WANTED!}{she was all MEAN and bought the stuff SHE FOUND FIRST!}{RUDE}{I kid.}I am MOST EXCITED about a certain DUCK LAMP! {Heather tried to talk me out of it.}{I think because SHE wanted it :)}

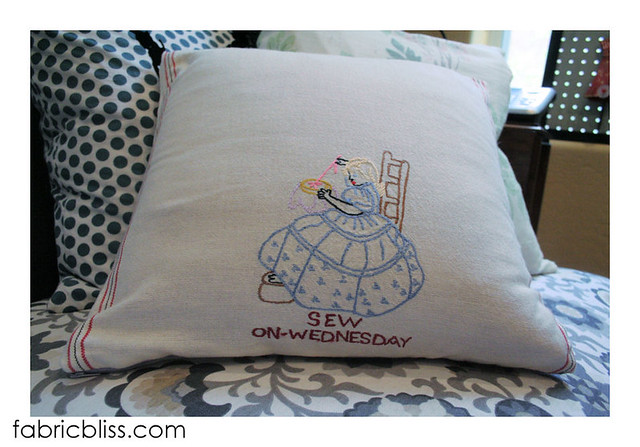
tea towel pillow

I am trying to get as much crafting in as possible before the kids are out for the summer. I don't know what this summer is going to be like- we don't have a vacation planned, its our first summer in this {much smaller} house and we are STILL adjusting to the fact that Kenny can't go outside from 10-4 everyday. You would think after almost 2 years I WOULD GET IT ALREADY. But its still freshly shocking when I forget, and regress back to the 'let's get season passes to the local waterpark' mindset. And then someone {normally, Kennedy} points out that I am forgetting something VERY IMPORTANT. Boo.

sewing room wreath01

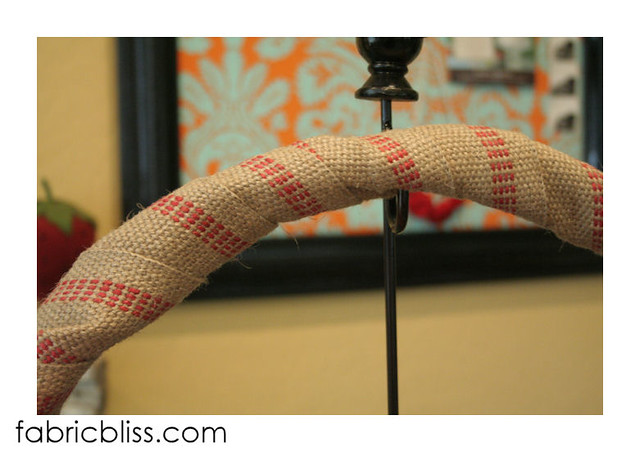
I also whipped up this simple sewing themed wreath, for my sewing room {of course!} It LITERALLY took me 5 minutes. I LOVE super simple projects that come out just like I imagined them to.

sewing room wreath02

This dollar store wreath is wrapped in super cheap {red striped} jute upholstery webbing.
sewing room wreath03

I made a rose-ette out of a long metal zipper {left over from my couch project}a vintage tomato pin cushion {does everyone have a million of these laying around?} and a vintage spool measuring tape. Done and done.


Well. Its 10:47 am on Sunday and I am headed back to bed for a much needed nap. {went out with girlfriends and my cutie sister last night and didn't QUITE get enough sleep!}

Please.
Don't judge.


Friday, May 20, 2011

{make this!} A composition book cover + FREEBIE FRIDAY!

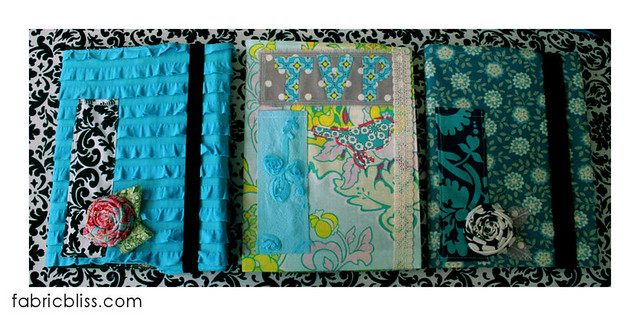
It all started with this notebook I made for Creative Estates:


And then I {we} were HOOKED.....
notebooks

So, remember long ago, when I posted pics of these fun composition notebooks I had made for my friend Erin? And how I had said I had a SUPER QUICK and SUPER EASY tutorial I was going to post? And then everyone quickly realized I was a BIG FAT LIAR? Well, who's the liar now, weenies? Because HERE IT IS, in all of it's 18 picture tutorial glory {14 of said pics are almost assuredly unnecessary}. Better late than never, friends. Better late, than never.

This project is rated SUPER EASY. How easy, you ask? Even when you are having a day where you feel like you are crafting worse than a drunk monkey? You will STILL find success with this project. I swear.{you can trust me.}
notebook16
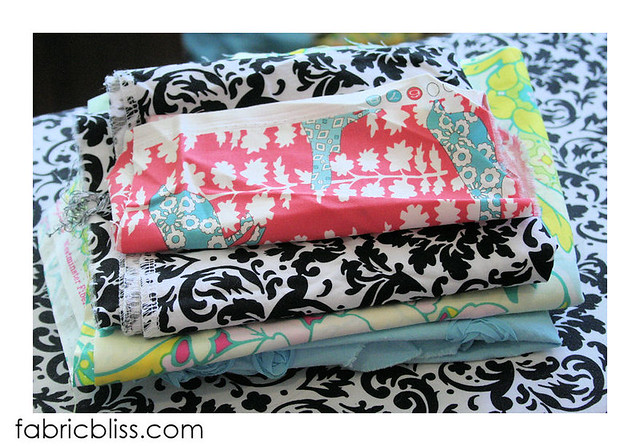
Supplies are super simple. Plug in your sewing machine and make sure that bobbin has thread on it. Plug in the ol' glue gun {if you aren't ashamed to laze it out}but if you are all proper and stuff, I will show you how to sew at my gluing point.... Gather some fabric together- {THIS MIGHT BE JUST THAT EXCUSE YOU WERE LOOKING FOR TO GO TO THE FABRIC STORE. OR? Shop online! Did you know you can order fabric at Amazon? OH FRIENDS! That means with Amazon Prime, you can get free shipping on fabric all. day. long. Its almost sinful NOT to be ordering fabric all day long, isn't it????} At least one piece needs to measure 12" x 22". You might even get a little crazy and patchwork together a few scraps to get something this size. Woot woot! You will also need an 18" piece of  pretty  elastic or stretch lace to serve as the closure.

You also need {duh} one regular composition book, like this one:
target-composition book
{these are around a dollar at Target}
notebook11
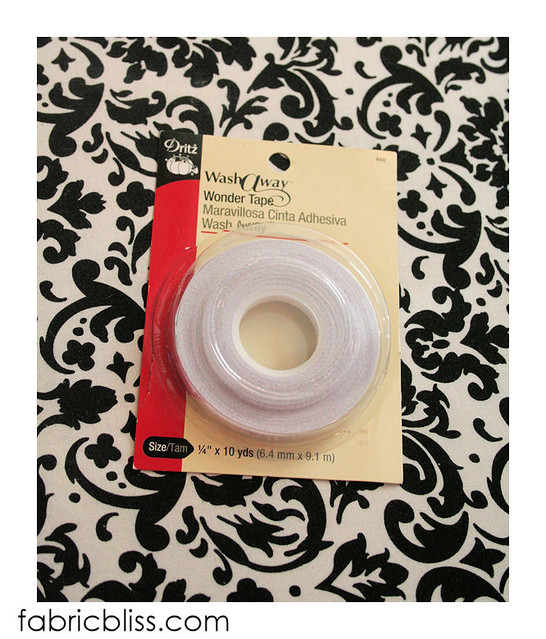
An optional supply for this project is something I keep in my sewing arsenal ALWAYS! Wash away Wonder Tape is my best friend in the sewing room. {well, besides spray adhesive}I HATE HATE HATE HATE HATE to use straight pins. HATE! I REALLY prefer to just use this to tape pockets down - well, really anything that can be taped down- and then stitch. This will NOT gum up your needle and if you ever wash your cover? This stuff dissolves in water. GENIUS! {I buy this at Joann's, either with a coupon or when the notions wall is 50% off.}
notebook15
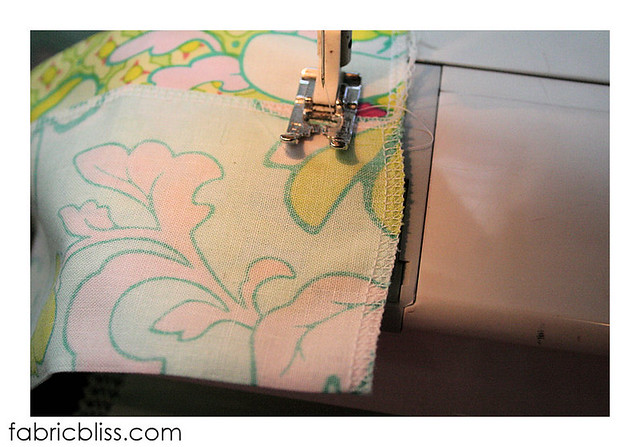
Ok. We are ready to get started. Cut out a piece of fabric {or create one with patchworking} that measures 12" x 22". Try not to cut it so that your HB Pineapple motif is going to be on the front upside-down. But if this happens? Meh. Move on. There are bigger things to worry about and Erin is such a nice friend, she will never say anything :) I serged around the edges, mainly because I own a serger {or two} and I like to serge whenever possible. There aren't really going to be exposed edges, so if you don't have a serger, skip this part. Geez. How many times have I said serge? SO MANY TIMES the word looks weird to me now. Serger. Serge. Serge. Serger. OK, moving along...
notebook14
Now, fold over 3" from each side and press, right sides together, along the fold.
notebook13
Press, press, press. Press HARD. Iron like you MEAN IT. {Truthful moment: I cropped out the duct tape repair on my iron. And my really beefy arm.}
notebook12
Now, unfold and your crease serves as the no-man's land for decorating the front of your cover. As in, don't go too near the crease and anything to the right of the crease? That is going to be on the inside of your notebook. {I didn't take a pic, but you also need to fold the entire piece in half, like a book, and press a crease there, too. That will serve as your binding mark. Anything to the left of that crease will be the back cover.}
notebook10
Now, embellish to your hearts content. I taped on and then stitched a pen/pencil/marker pocket, added Erin's business initials and a bird patch I made from fabric + Heat N Bond LITE.


{did you know EVERYTHING IS BETTER when you put a bird on it????}
notebook09
This is what my cover looked like after i was done embellishing the front. If I could do anything over? I would move the pocket down and the bird over...... the bird was painfully close to my elastic closure and it annoys me.... or I could just be hormonal. At this point? Its ANYONE's guess. {husband? Best for everyone if you refrain from guessing....}
notebook08
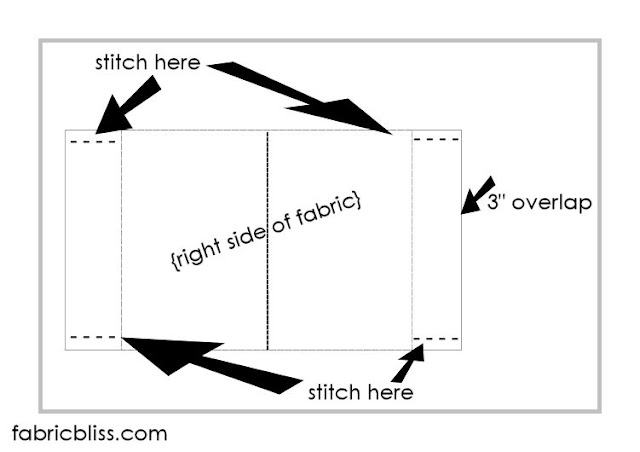
Now. Take your cover back to the ironing board and touch up those creases. Now, sew along the tops and bottoms of both front and back seams {using a 1" seam} just where the fabric is overlapping. {does that make sense?}
In what is perhaps one of the lamest little layouts that has ever been made, LOOKIE I made a little pattern because I think I am complicating this WAY. TOO. MUCH!
notebook07
Now, when you take your little beauty back to the ironing board and flip everything right side out, it should look something like this ^ Press down those flaps on the tops and bottoms and stitch those down too. Just where they are flapping up. Don't stitch over where your book is going to go into your cover, you dig me?
notebook06
Now, convince your composition book into its new cover. Depending on how straight you sew and cut {i don't cut or sew straight hardly at all - wonky in da' house}this could be super easy (or) REALLY DIFFICULT. But. I KNOW you are going to get her in there!
notebook05
Now. Here is where I am going to glue. This part can be accomplished WITH THE COVER ON with glue, but if you are stitching, it needs to be done before you put your cover on. {ahem. overachiever.}Make a loop with your 18" piece of lace or elastic, and glue the ends together. Take said loop and position on the back cover, near the edge that is NOT the binding, go somewhere in the middle and glue it like you mean it. {if you are stitching, re-read that last part but substitute the word GLUE with the word SEW. Be careful not to stitch through the back to the flap where your book cover goes.}{for the record- us glue-ers don't have such worries.....}
notebook03
I like to cover my glue shame handiwork with a little heart cut from fabric. Just glue that little sucker right on top.
notebook02
Voila! And just like that, you are finished.
notebook01
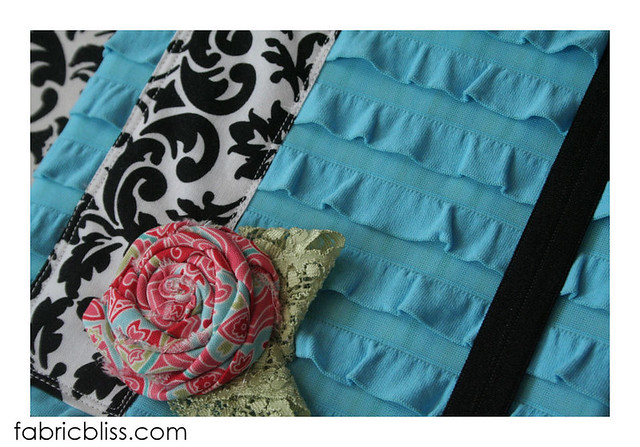
Now that you are such a notebook cover making pro, I encourage you to try different fabrics and trims. MY FAV I have made so far is this ruffle confection! Erin is lucky I mailed it when I did. I had several little ladies in this house eye-ing it up.....

Hey, GUESS WHAT? I am going to giveaway one of these little pretties to one lucky commenter. Love this? Hate this? Having a bad hair day? Does your husband work from home as well and you are having one of those 'wanna poke his eyes out' kinda Friday's, too? Tell me about it right here in the comments and Sunday night, I will pick a winner. {did anyone else's family say 'pick a winner' in reference to picking one's nose? or was that just my weird kin???} 

{I'd love to see pictures if anyone makes one of these}


Thursday, May 19, 2011

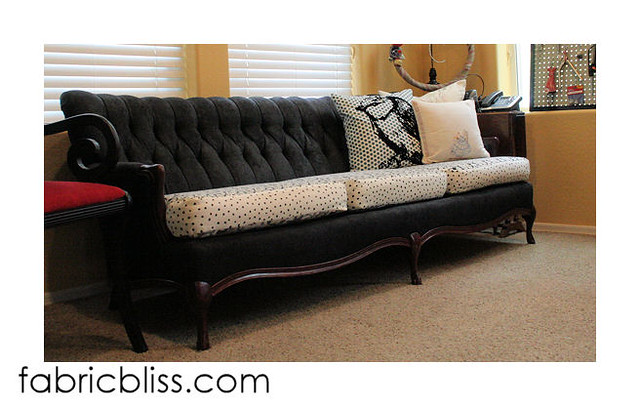
{do this!} I painted a couch last week {or} NO REALLY! I PAINTED A COUCH!

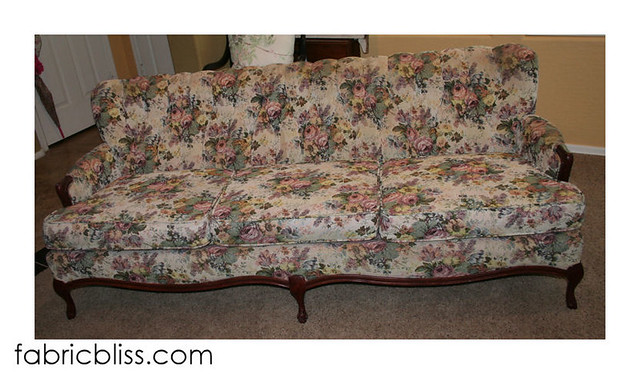
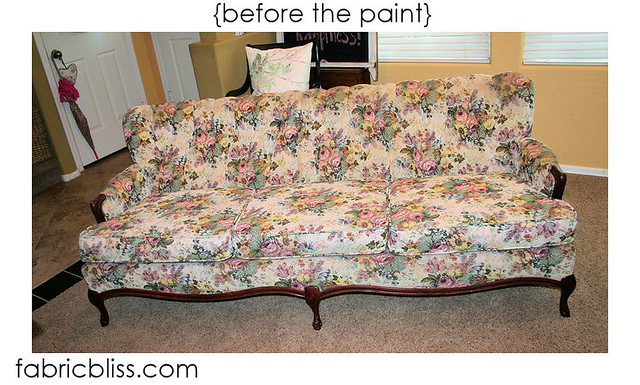
So, if you follow my VERY AMUSING musings on twitter {hint, hint} you may have seen the picture of this garage sale SCORE I bought a couple of weeks ago. For the low, low sum of FORTY-FIVE DOLLARS! Can you FREAKING BELIEVE my LUCK?

couch

When I saw her sitting there, in that nice man's driveway, I got the heart palpitations and sweats that only a true bargain hunter can understand. There and then, as I sat in my car, tangled in my own seat belt {there may have been some cussing involved} I KNEW I NEEDED to OWN her! As I walked up the driveway, I fretted that she might be out of my budget, but was already concocting excuses and justifications for the mister. I watched as another woman had a conversation about the couch and WALKED AWAY. 'OH GREAT!' I was thinking, 'this dude must have visions of GRANDEUR and wants a Antiques.Roadshow.Mint for this little beauty.' My garage sale compadre nudged me a little and said GO ASK ABOUT THE COUCH. {She actually more shoved me, bless her little heart.}So, up I trudged and casually asked, 'how much for the couch'. Oh man. He started out with a story which typically =  A TOTALLY INFLATED PRICE. He told me she was from the 40's, original fabric {which, I disagree} and that he just replaced the springs a year ago. And then he said it. FORTY FIVE DOLLARS!!!!!!??????!!!!! Uh. Yeah. I'll take it. {and for the record, it was in VERY CLEAN condition. No smells, fabric could have been left as is, if it weren't so hideous. SCORE!}So, I kinda knew I was going to paint her from that moment. {did you see that episode of trading spaces where the couches were painted but got ruined by the rain? Yeah. I still wanted to attempt it.} It took a bit of convincing the mister, but he eventually agreed with me that this was the only way she was going to fit in with out COMPLETELY NOT SHABBY CHIC HOUSE {that was for my galpal Heather}
before

Just my luck?  My dad was in town to help! {Its almost like I PLANNED IT} 

 So, here are the supplies we used:
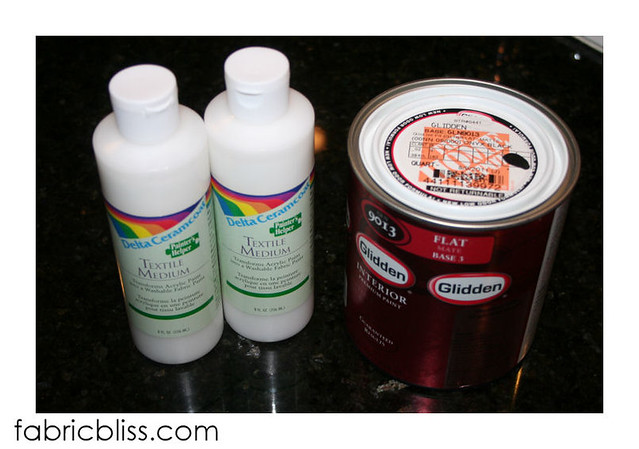
supplies

*Glidden flat black paint {color -Ebony}- I started out with just one quart, but ended up having to go back for another, which I used half of. So, if I ever paint a couch again? I will just go for the gallon.

*2 - 8 ounce containers of Delta Ceramcoat Textile Medium - this paint additive keeps acrylic/latex paint flexible enough to use to paint a couch, without all of it just flaking off. It was supposed to be 1 part medium to 2 parts paint. I got lazy doing the math, so I ended up using the 2 - 8 ounce containers for a quart and a half of paint.... that adds up, right??? {It turned out fine, regardless...}{Kids, are you listening? YOU DO NEED MATH SKILLS IN EVERY DAY LIFE! STAY IN SCHOOL!}

*Painters tape {Don't be buying no dollar store tape. It sucks. The extra moolah is SO worth it.}
blurryfoamroller

We also used this foam roller. {OMG I know this is the worst picture ever to be posted on the interwebs, it was just the only one I took.} {Sorry.}{I love you.}We also went through several of these type foam brushes, mostly to get in the nooks and crannies.
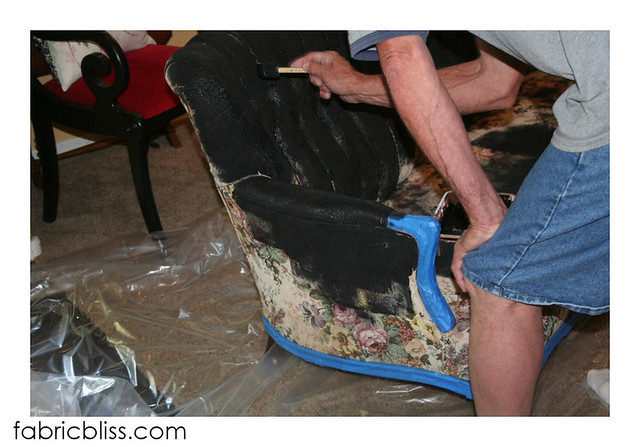
dad painting the couch

My dad was in charge of masking the wood base. {YAY FOR FARMING OUT THE TOUGH LABOR!} There was some discussion about painting the wood as well. We didn't, mostly because I am lazy, it would have involved priming and sanding and I am nothing if not a crafter suffering from a MASSIVE case of A.D.D. So, YAY for NATURAL WOOD TRIM!
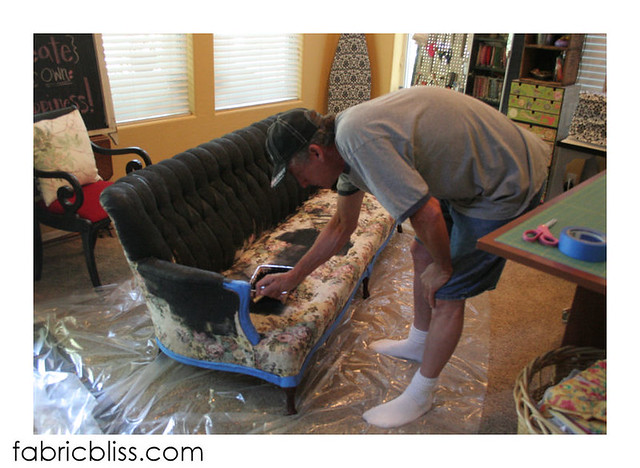
dadpaintingthecouch

I rolled all the bigger, flat areas, and Dad used the foam brushes to get in the tufts on the back and around the trim. It took both of us painting about 4 hours total painting time over 2 days to finish. {My dad actually did most of the work. THANK YOU DAD! I APPRECIATE YOU!}
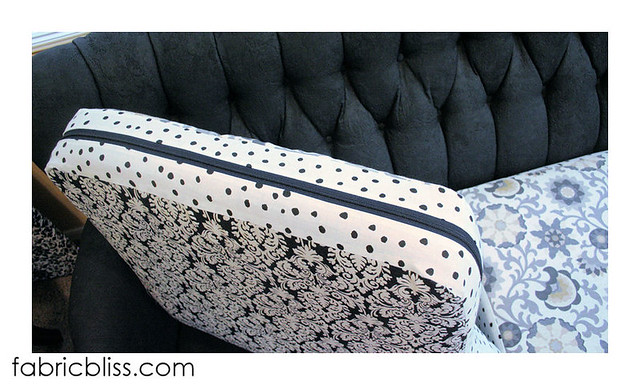
reversible cushions!

It took me the LONGEST to figure out what fabric to use to cover the cushions. {I knew right along that I didn't want to paint those....} I settled on reversible cushions, trimmed in polka dots. {Perfect.}

after

Didn't she turn out beautiful???!!! You can still see the texture of the original tapestry {original?} fabric, which I actually love. The back feels a bit like you might imagine a painted couch would feel like. Stiff, like a new screenprinted t-shirt. I might not attempt this on a 'fluffy' couch. I think it worked so beautifully because this was a tight, tailored design. {which is why I did not want to attempt to paint the foam butt cushion covers. It sceered me.}

before and after


So. To review. Look. The prettyness. The beauty. Total cost? A little over $100.

$45 - couch

$16 - 2 quarts black paint

$7 - 2 containers textile medium {both purchased at Joann's with coupons $5ea is reg price}

$2 - foam brushes 

$36 - Damask and Floral from Joann's with coupon {had the dots in the stash}

$3 - 3 upholstery zippers from SAS
Painters tape, plastic tarp, rollers {I already had}

-----------------------------------------------
Total price - $109

finished sewing room

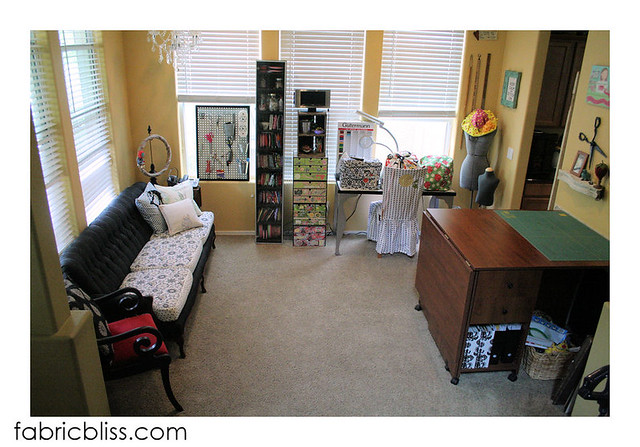
I think this couch is just what my sewing room was missing, don't you?


{linked this project up}