Sunday, August 28, 2011

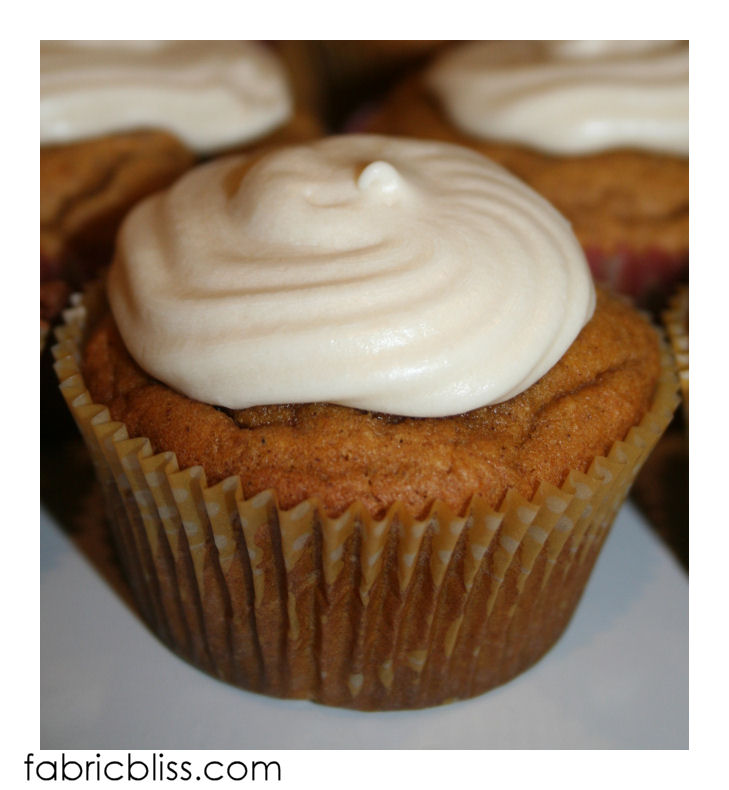
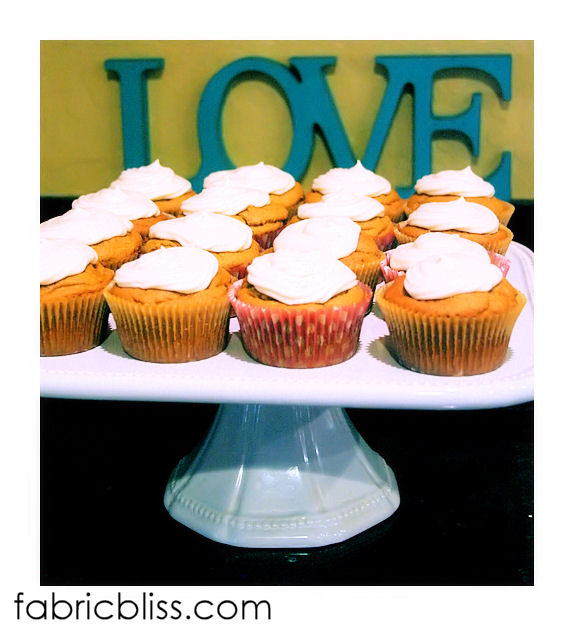
{gluten free} pumpkin muffins with maple cream cheese frosting - make this now.

My great friend, The Sharynator {as in - a fun combo of her name and The Terminator? Get it? Yep. I am a great friend.} bought me a can of pumpkin a few weeks ago, after we had just heard about the great pumpkin shortage of 2010 and started to kind of PANIC and FREAK THE FRACK OUT because we noticed our local grocer was not stocking the pumpkin like they used to but then she spotted it on the shelves of another market. {Food Ciiiiiiii-Tay! - if you've ever shopped there, you know what I mean. I LOVE shopping there. Especially FRIDAYS!} and picked us each up a big ol' can. {oh holy run on sentence} And I have been staring at it ever since, because my trusty pumpkin bread recipe just isn't going to work this year {since we've been gluten-free since January} and I hate to waste time making things that are going to end up tasting like sadness. BUT I have tried to start to give myself credit for finally getting a handle on what gf flours work for what and so I decided {after a successful foray into making pancakes with what I had on hand vs an actual recipe}to try to modify my bread recipe into gf muffins. They turned out SO DELICIOUS I am going to share them with you:
pumpkin_muffins_02

Ingredients needed to make 24 regular sized muffins + 24 mini muffins:
{Halve the recipe to make about 18 regular sized muffins}

  • 1 c unsalted butter {2 sticks}, softened
  • 1/2 c brown sugar, packed
  • 1 1/2 c granulated sugar
  • 2 tbsp honey
  • 4 large eggs
  • 2 tsp gf vanilla extract
  • 2 c canned pumpkin
  • 1 1/2  c gluntinous rice flour {widely available at asian or int'l supermarkets for VERY inexpensive- I can get it in AZ for about 99 cents a pound}
  • 1 c sorghum flour
  • 1 c tapioca starch
  • 1/2 c almond flour
  • 2 tsp guar gum
  • 1 tsp cinnamon
  • 1/2 tsp cloves
  • 1/2 tsp nutmeg
  • 1 cup buttermilk {you can substitute powdered buttermilk + water}
pumpkin_muffins_03

Preheat your oven to 350 degrees and line your muffin tins with paper liners OR grease and flour the cavities. In a large bowl, combine your dry ingredients: the flours, guar gum, soda, powder and spices. In a stand mixer, cream together the butter, sugars and honey until well combined, about 3 minutes. Add the eggs, one at a time, beating well after each egg. Add vanilla and pumpkin and beat until well mixed. Add the buttermilk and flour, alternating between the two, until everything is mixed together. Fill muffin cups 2/3 full. Bake for 18-20 minutes. Cool on wire rack.

To make the delicious frosting, whip together 1/2 c softened butter, 1 block softened cream cheese, 2 cups powdered sugar, 1 tsp maple flavoring and 2 tbsp half and half. {start by adding 1 tbsp and add 1 tsp at a time until you reach your desired frosting consistency. Add more half and half as needed} Frost your muffins once they are completely cooled. ENJOY!

Gluten free baking does not need to be scary :)

Saturday, August 27, 2011

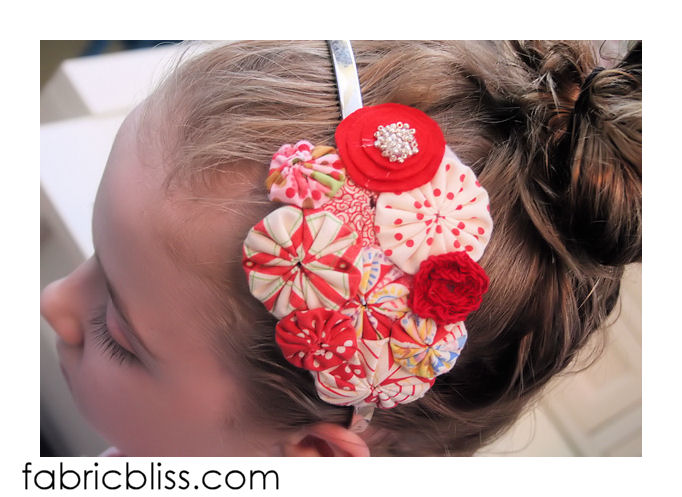
{make this!} The yo-yo headband that you ALMOST forgot about :)


Hi friends!  When I became a total star ... started on my quest for craft world domination ... made my television debut last week, this headband was one of the two YO-yo-yo projects I intended to talk about making. And then we took so long talking about the tank top and, well, actually just MAKING a yo-yo, I never actually got to this one. I am quite certain there might be one person out there that is interested in this, so One Person? This is just for YOU :)
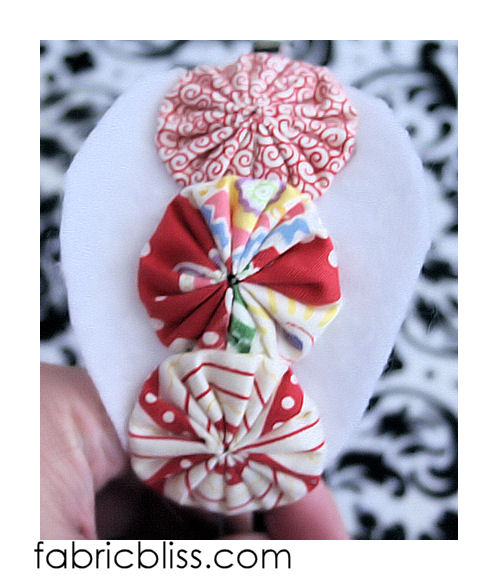
completed_headband_02

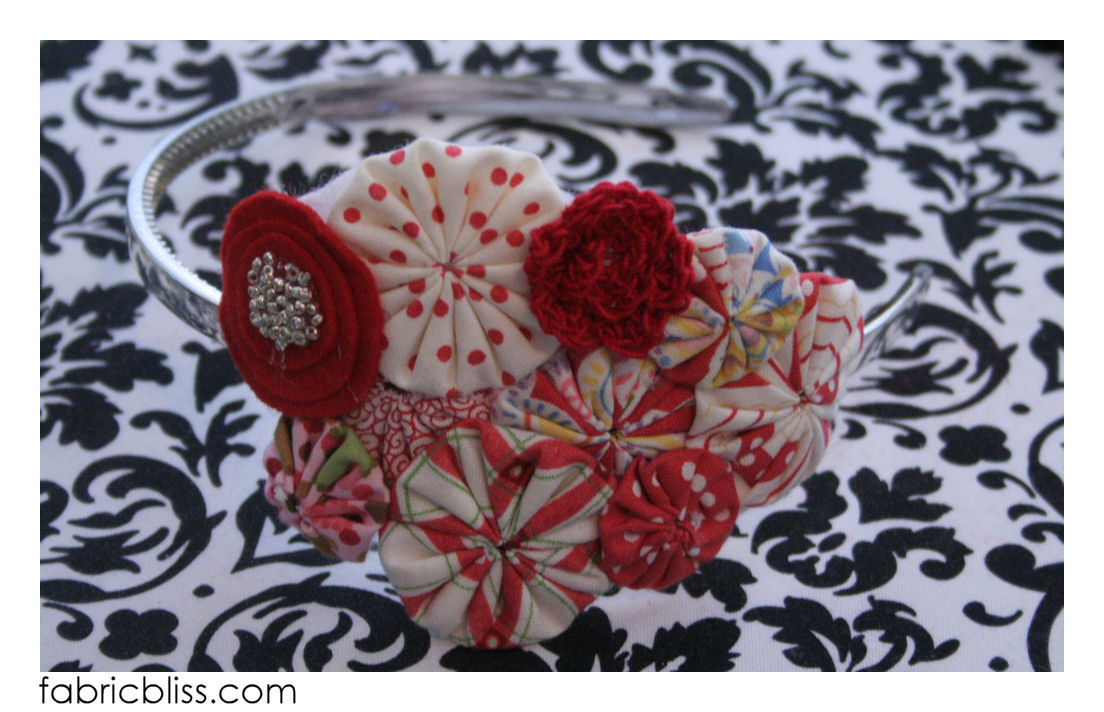
The headband is pretty simple, just a collection of yo-yos on a felt base. 

To make one of these little suckers, you'll need:

-A plastic headband - I bought a pack of 5 at the dollar store, for, well, A DOLLAR :)
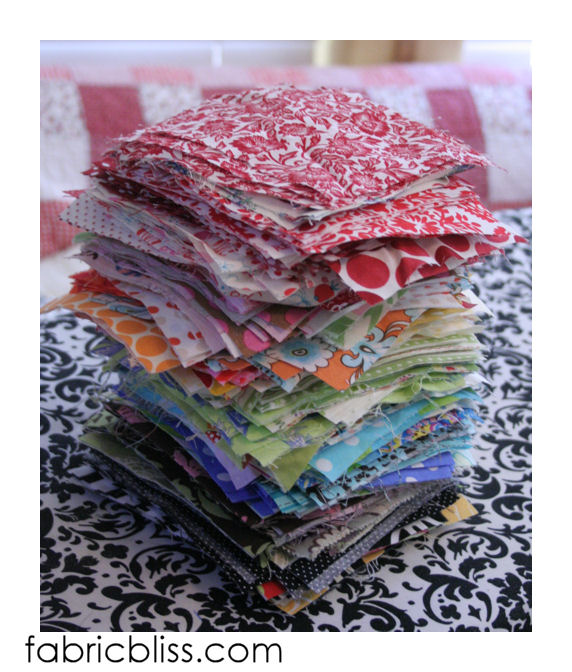
stack_of_fabric 


-square fabric scraps or a charm pack - stack them up in rainbow color, because that's just really more pretty to look at :)
yoyomakers

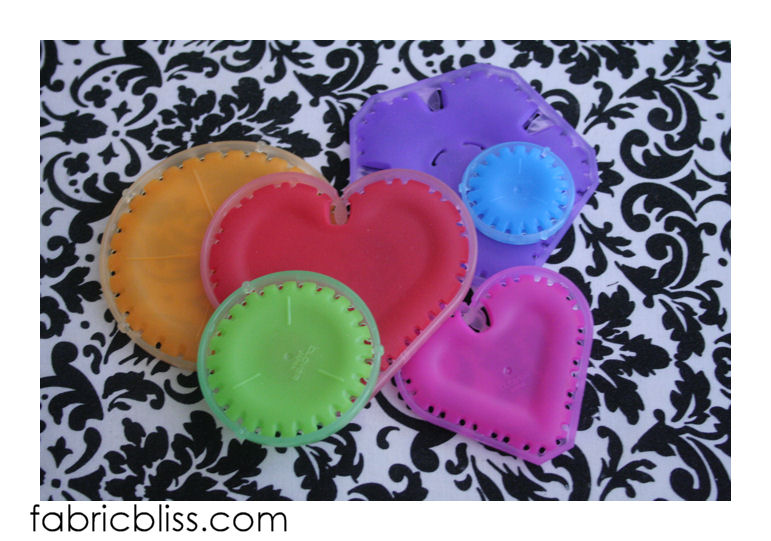
-yo-yo makers in various shaped and sizes {or an old trashed cd to trace if you don't have a yo-yo maker} 
red_yoyos

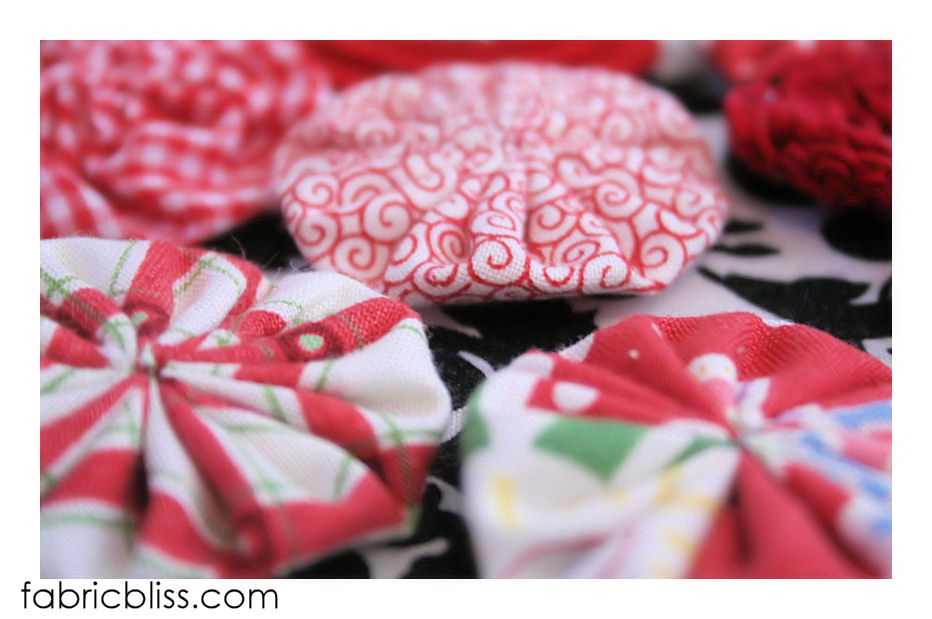
-a handful of buttons or flowers or stacked felt flowers {I will show you at the end how to make a simple one} and at least 8 finished yo-yo's.

headband_felt

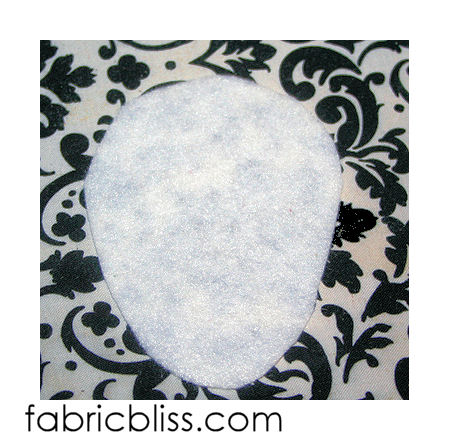
A piece of white {or any coordinating color} craft felt, cut into a bean shape, approximately 4 inches long.
headband_tutorial

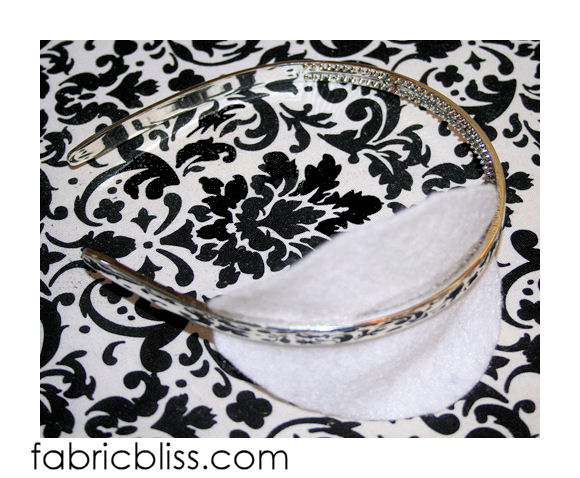
To start, make your yo-yos. Don't have a yo-yo maker? Go here. Now, glue the felt piece to the underside of the headband, starting where ever you'd like your patch of yo-yos to be. I did these off to one side {and since there is no front or back? It can be worn to either side}.
yoyo_headband_tutorial_01

Start building your patch by first covering your headband with three large yo-yos. Securely glue the yo-yos to the felt as well as the headband. Then just glue the rest, overlapping, over the rest of the white felt, covering the felt as much as possible. Trim away any edges that aren't covered.

stacked_felt_flower

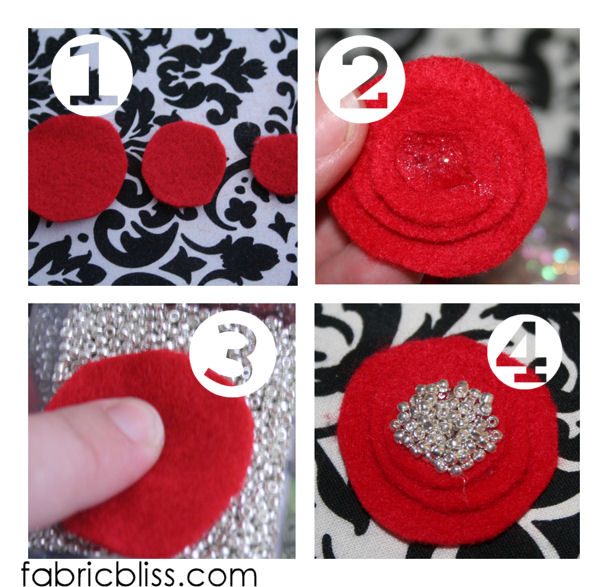
To make a quick beaded and stacked felt flower:


  1.  Cut a small, bigger and biggest circle out of felt. {smallest is about the size of a penny}
  2. Glue and stack together. Once all glued together, put a generous ball of hot glue on the top in the center
  3. Carefully push the glue spot into a pile of small seed beads {while the glue is still HOT}
  4.  Let the glue dry and then flick off any loose beads

completed_headband


Thursday, August 25, 2011

The Chore Store made it on LIVE TV.

I had so much fun AGAIN today visiting the local ABC studio. My bucket is SUPER DUPER full today, KATCHOW KATCHOW. I thought I should have been super nervous being on live tv, but {besides the nip slip/F-bomb anxiety} I have felt at ease both times. Weird. And slightly awesome.

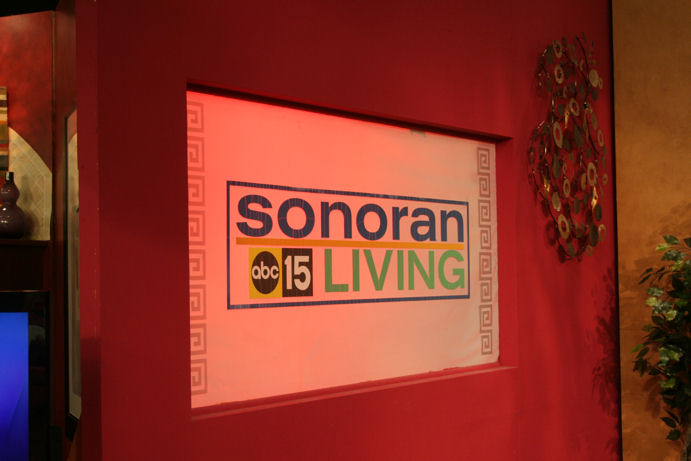
I thought to bring my camera along this time to get a few shots of the studio and hosts.

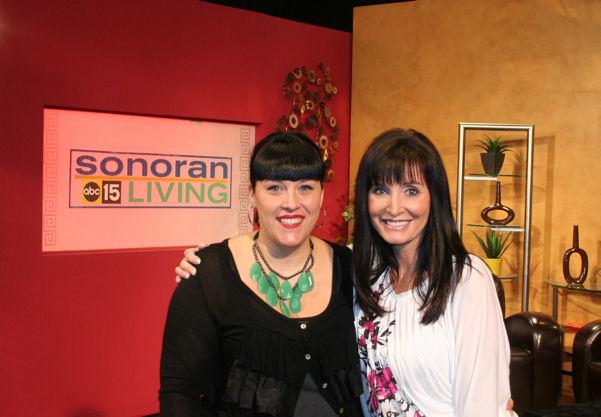
sonoranliving


And.....You guessed it! I was that guest. That one who was actin' the fool once the camera came out. Yeah. But WHO IS NOT EMBARRASSED IN THE LEAST? Me. Three words. No. Nip. Slip. That's all that really matters, Amen.

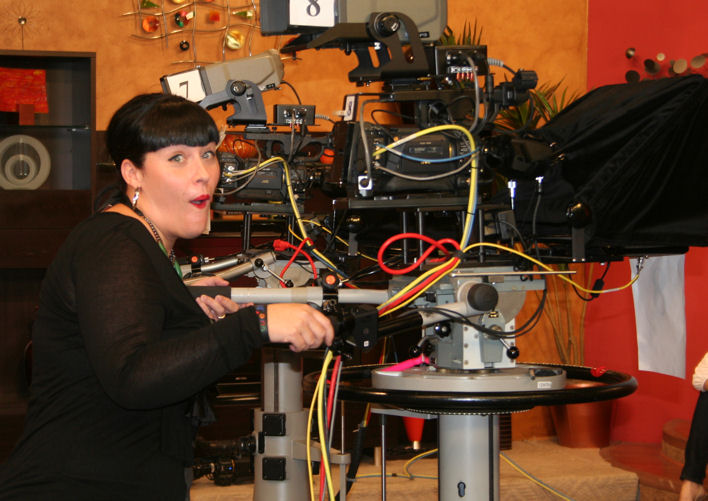
camera_woman
They probably shouldn't ask me to be a camera woman, for real. That camera is SENSITIVE. My shakey hands + that = no bueno.

jen_and_andi

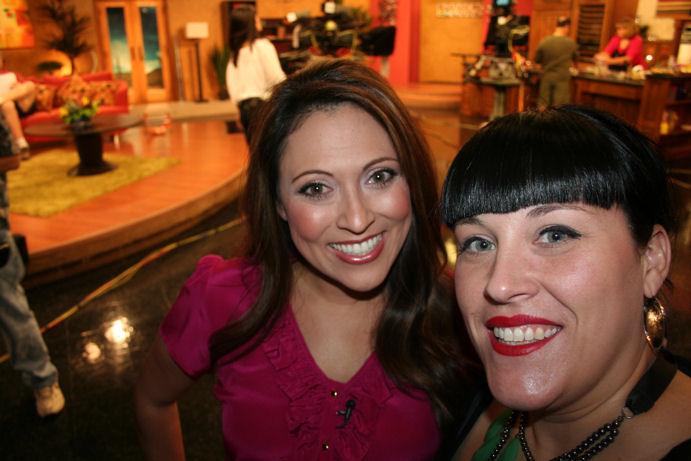
And ZOWEEMAMA these ladies are beautiful.... and SUPER THIN. {my poor ham bone arms were so embarrassed.} Next time? I will bring them donuts. And perhaps several buckets of lard. Need motivation to go on a diet? You can come with me next time... {boohoo.}

jen_and_stephanie
It was just a really fun day. And I hope everyone in the land starts a Chore Store. It really is a great thing.

Here is the video:  {enjoy!}


Find the original chore store post here:


Wednesday, August 24, 2011

A quick porch re-do

August is the month in Arizona when pretty much everyone {besides the mister- he LOVEs the heat} is completely, totally and utterly DONE with the heat. So, so done. So done, all I can think about is, 'why do we live here?' ... 'San Diego isn't that expensive, is it?' ... 'I think I am insane.' ... 'Where is the ice cream?' ... 'Why are my pants so tight?!'...So, to totally screw with myself, I decided to do a once-over on my sad little neglectarino porch that has been sitting dusty and desolate all summer. Because, for real? Its going to be at least 2 months before anyone is actually enjoying sitting out here again.... BUT I adore the way it turned out and am pleased to say in total I spent less than $35! And very minimal effort...
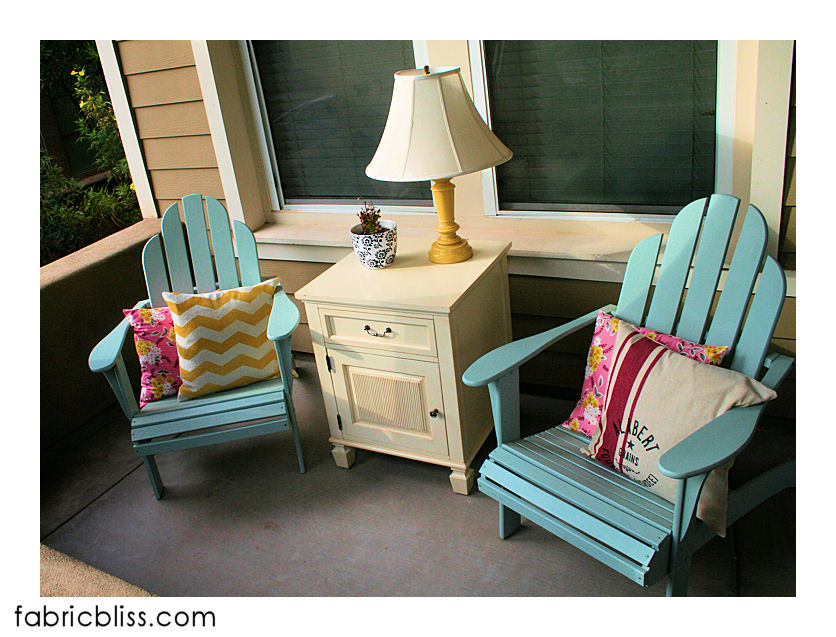
porch makeover
I bought these adirondack chairs at our last community yard sale for $10 each. I used leftover paint from my bedroom dresser makeover of last summer and I LOVE them :) Best part? Painting helps minimize the splinter-in-yer-butt factor these chairs used to have. The nightstand side table was a free with purchase item on my last craigslist find {hutch for fabric storage}. I just love free.


goodwill_lamp_makeover
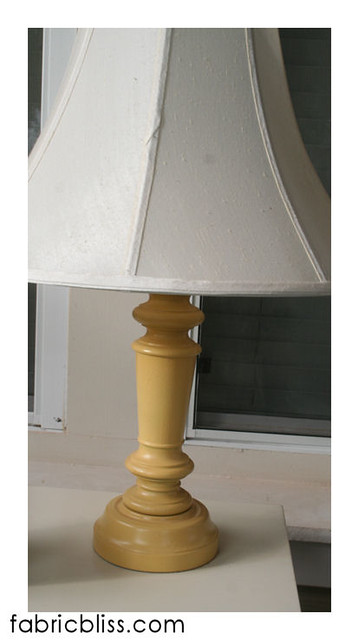
The lamp was a mere $2.50 at Goodwill half priced weekend. It was a god awful wood and brass, but nothing a little spray paint couldn't clean right up. The shade was one I had in the garage- the scale is a little off, but I didn't want to buy a brand new shade to put outside so it will have to do...

painted_chevron_pillow


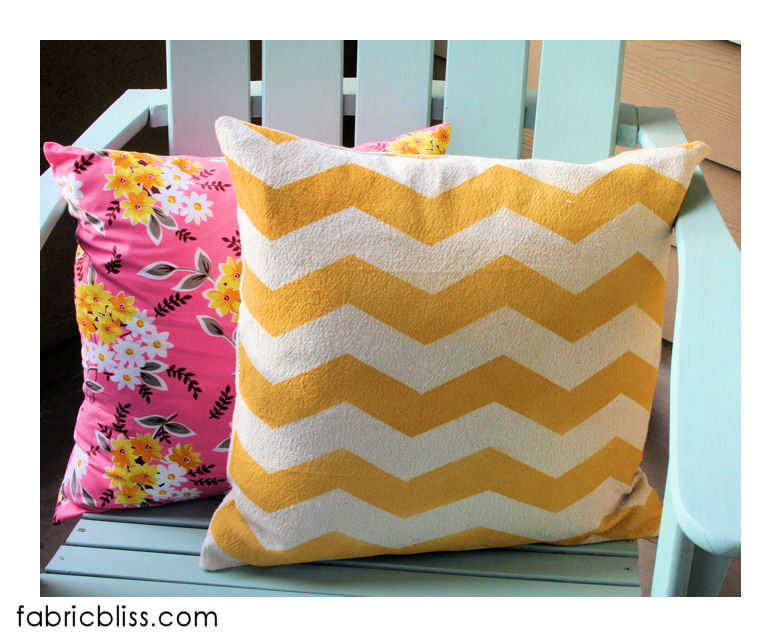
I made this chevron fabric out of spray paint, painters tape and a painters drop cloth and just recovered an old, faded pillow. {the pink Flea Market Fancy pillow is a leftover decoration from Camden's grad party}

target_towel_pillow_slipcover
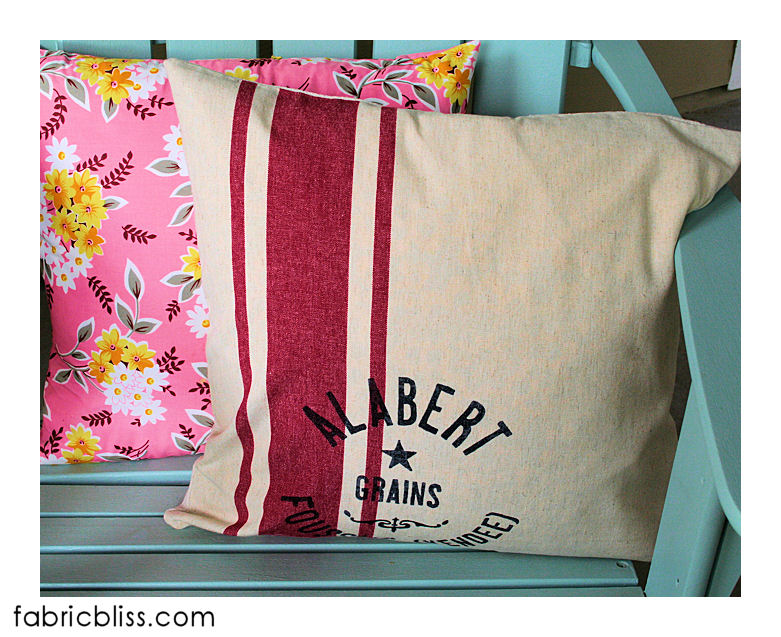
I made this slipcover out of a kitchen towel from Target. I think it was the biggest splurge, at $3.99.  

I just love the way it turned out. Now, if only the weather will cooperate!


Friday, August 19, 2011

Its true, they let me on LIVE tv - How I spent 4 minutes focusing on not F-bombing it.

{my television debut}

....

In case you don't follow me on twitter, I was on this local show yesterday doing a craft demo. It's true. Me. Tv. Live. Insanity. Big hair, hambone arms, double chin and all. Here's the low-down. I was worried about f-bombing it or a nip slip THE. ENTIRE. TIME. Its truly absurd since I can actually be out in public and not riddle my conversations with vulgarity. {shut-up, Heather.} I have NEVER just casually shown anyone my nipple. Really. For REAL. I can be trusted {most of the time} in polite society and not embarrass anyone. But for some reason? I thought surely all hell was going to break loose when these people let ME of all people on LIVE tv. Oh, man. But, besides that? I wasn't nervous at all. In fact, I was on my BEST BEHAVIOR and apparently not as sassy as everyone expected! 

...

I will do better, next time.... which just so happens to be next Thursday, August 25th when I am going to appear on Sonoran Living.... If you are in Arizona, please tune in if you can :)